DIY Cuticle Care: Tools & Steps for Healthier Nails
Your cuticles frame your nails like a picture frame highlights artwork. When you neglect them, your entire manicure suffers.
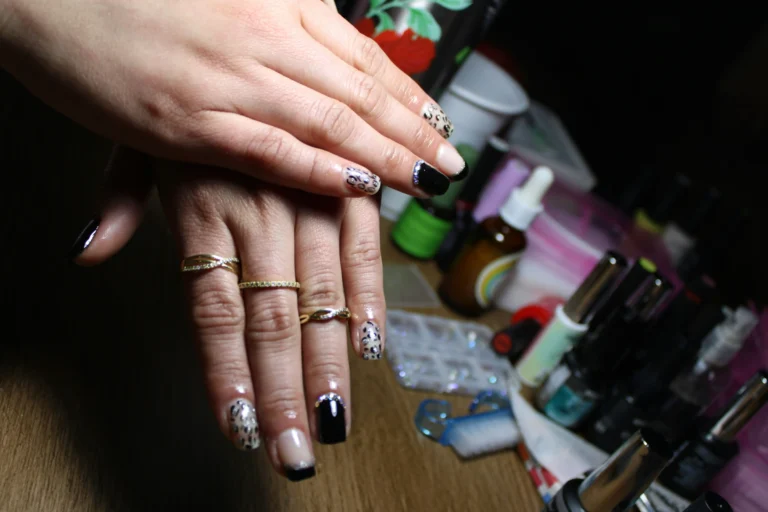
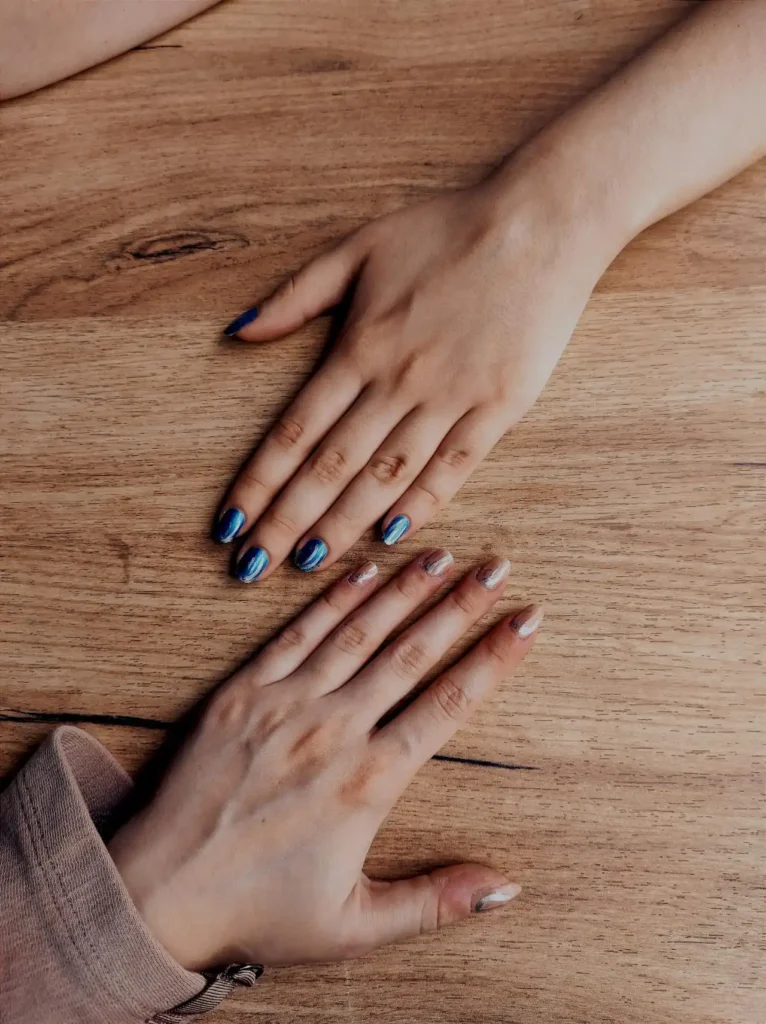
Professional salon treatments cost money and time you might not have. Learning proper DIY cuticle care transforms your nail game at home while saving your wallet.
Understanding Your Cuticles: The Foundation of Healthy Nails

Your cuticles serve as protective barriers between your nail bed and the outside world.
These thin layers of skin prevent bacteria and infection from entering the sensitive area where your nails grow.
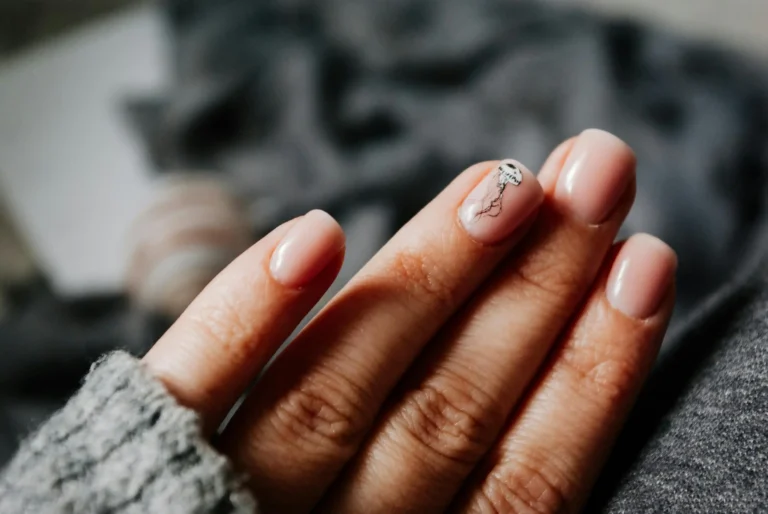
When you maintain healthy cuticles, you create the perfect foundation for strong, beautiful nails.
Many people confuse cuticles with the eponychium, the living tissue at the base of your nail. Healthy cuticles appear smooth and lie flat against your nail.
True cuticles are actually dead skin that adheres to your nail plate. You can safely remove this dead tissue without causing damage or pain.
They shouldn’t have rough edges, hangnails, or excessive overgrowth. When you see these issues, your cuticles need attention and care.
Essential Tools for Professional-Quality Cuticle Care
You don’t need expensive salon equipment to achieve professional results. A few quality tools make all the difference in your cuticle care routine. Invest in these essentials for the best outcomes.
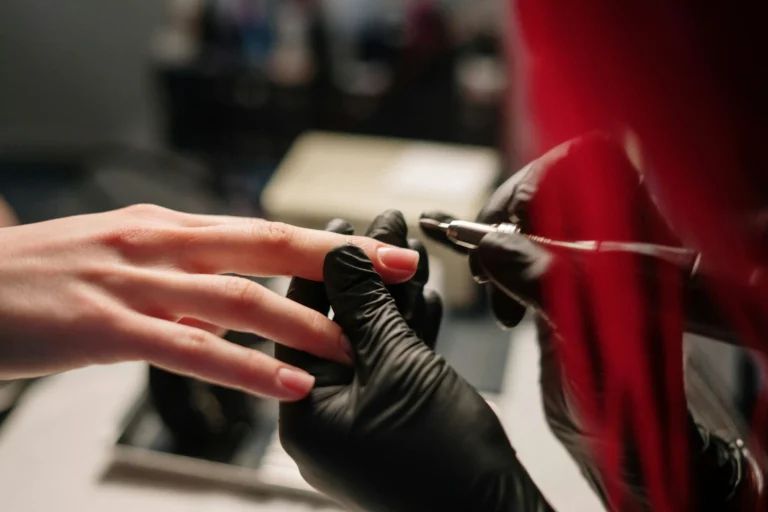
Cuticle Pusher or Orange Wood Stick
Choose a cuticle pusher with a flat, angled end for gentle pushing. Metal pushers offer more precision but require careful handling.
Orange wood sticks work well for beginners because they’re softer and less likely to cause damage.
Cuticle Nippers
High-quality cuticle nippers feature sharp, precise blades that cut cleanly without tearing.
Look for stainless steel construction and a comfortable grip. Never use regular scissors or nail clippers on your cuticles.
Cuticle Oil or Cream
Cuticle oil softens the skin and makes pushing easier. Jojoba oil, vitamin E oil, and specialized cuticle treatments work best. You can also use a rich hand cream if you don’t have dedicated cuticle products.
Soft Towel and Warm Water
Warm water softens cuticles naturally, making them easier to work with. Keep a soft towel nearby for drying your hands and protecting your work surface.
Nail File and Buffer
You’ll need these for finishing touches and smoothing any rough edges around your nails. Choose a fine-grit file to avoid damage.
Step-by-Step DIY Cuticle Care Process
Follow this systematic approach for salon-quality results every time. Take your time with each step to avoid injury and achieve the best outcome.
Step 1: Prepare Your Workspace and Hands
Set up your workspace with good lighting and all your tools within reach. Remove any existing nail polish completely. Wash your hands thoroughly with warm, soapy water to remove dirt and oils.
Soak your fingertips in warm water for three to five minutes. You can add a drop of gentle soap or cuticle oil to the water for extra softening power.
This softens your cuticles and makes the entire process easier and more comfortable.
Step 2: Apply Cuticle Softener
Pat your hands dry and apply cuticle oil or cream generously to each nail. Don’t skip this step even if your cuticles feel soft after soaking.
Massage the product into your cuticles and the surrounding skin. Let it sit for two to three minutes to penetrate and soften the tissue.
The additional moisture makes pushing safer and more effective. Reapply the product as needed throughout the process.
Step 3: Push Back Your Cuticles
Hold your cuticle pusher at a 45-degree angle against your nail. Gently push the cuticle back toward the base of your nail with steady, even pressure.
Work from one side of the nail to the other in small sections. The dead skin should lift easily without pain or bleeding.
Never force or dig into your cuticles. If you encounter resistance, apply more cuticle oil and wait a moment before continuing.
Start with your dominant hand’s non-dominant fingers first. This gives you practice on easier-to-reach nails before tackling the more challenging ones.
Step 4: Remove Excess Dead Skin
Examine each nail for loose, dead cuticle skin that you can safely remove. Use your cuticle nippers to carefully trim only the loose, white pieces of skin. Never cut living, pink tissue.
Make small, precise cuts rather than trying to remove large pieces at once. Cut across the grain of the dead skin, not parallel to your nail. This prevents tearing and creates a cleaner result.
If you’re a beginner, consider skipping the cutting step entirely. Pushing alone provides significant improvement without the risk of injury.
Step 5: Clean and Smooth
Use your orange wood stick to gently clean under your nails and remove any remaining debris.
File your nails to your desired shape and length, being careful not to disturb your freshly cared-for cuticles.
Buff the surface of your nails lightly to remove ridges and create a smooth base for polish. Focus on the area near your cuticles where you pushed back the skin.
Step 6: Moisturize and Finish
Apply cuticle oil or cream once more to nourish the skin and seal in moisture. Massage it into your cuticles and nail beds thoroughly.
This final step prevents dryness and maintains your results longer.
Clean your tools with rubbing alcohol and store them properly for next time. Proper tool maintenance prevents bacteria buildup and extends their lifespan.
Common Mistakes That Damage Your Cuticles

Avoiding these frequent errors protects your cuticles and prevents setbacks in your nail care routine. Learn from others’ mistakes instead of making them yourself.
Cutting Too Much or Too Deep
The biggest mistake people make involves cutting living tissue instead of just dead skin. Always err on the side of caution and cut less rather than more.
You can always trim more later, but you can’t undo damage from cutting too deep.
Using Dull or Dirty Tools
Dull nippers tear rather than cut cleanly, creating rough edges and potential infection sites.
Dirty tools introduce bacteria that can cause serious infections. Keep your tools sharp, clean, and properly sterilized.
Skipping the Softening Step
Trying to push dry cuticles often results in tears, bleeding, and damage. This simple step prevents most cuticle-care injuries.
Always soften your cuticles thoroughly before beginning any manipulation.
Working Too Quickly
Rushing through cuticle care leads to mistakes and injuries. Take your time with each nail and pay attention to how your cuticles respond. Stop immediately if you experience pain or bleeding.
Maintaining Healthy Cuticles Between Sessions
Consistent daily care keeps your cuticles healthy and makes your weekly sessions easier and more effective. Build these simple habits into your routine.
Daily Moisturizing
Apply cuticle oil or hand cream every morning and evening. Focus on massaging the product into your cuticle area and nail beds. This prevents dryness and keeps your cuticles supple.
Carry a small bottle of cuticle oil in your purse or pocket for touch-ups throughout the day. Apply it after washing your hands or whenever your cuticles feel tight.
Gentle Weekly Maintenance
Perform light cuticle pushing weekly to prevent overgrowth. You don’t need to do a full session every time – just a quick push-back maintains your results and prevents buildup.
Use your orange wood stick during your regular manicure routine to keep cuticles neat and tidy. This prevents the need for aggressive correction later.
Protection and Prevention
Wear gloves when cleaning, gardening, or doing dishes to protect your hands and cuticles from harsh chemicals and excessive moisture.
These activities can quickly undo your cuticle care progress. Don’t pick at your cuticles or bite your nails.
These habits damage the delicate skin and can introduce bacteria that cause infections. Keep your hands busy with stress balls or fidget toys if you struggle with these habits.
When to Seek Professional Help
Some situations require professional intervention rather than DIY treatment. Recognize when to step back and consult a nail technician or healthcare provider.
Signs of Infection
Redness, swelling, pus, or severe pain around your cuticles indicates possible infection.
Stop all DIY treatments and consult a healthcare provider immediately. Infections can spread quickly and cause serious complications.
Persistent Problems
If your cuticles remain problematic despite consistent care, a professional can assess your technique and recommend improvements. Sometimes an expert eye spots issues you miss.
Special Circumstances
People with diabetes, circulation problems, or compromised immune systems should consult healthcare providers before beginning DIY cuticle care.
These conditions require special precautions and professional guidance.
Advanced Tips for Exceptional Results
Take your cuticle care to the next level with these professional techniques and insider secrets.
Temperature Therapy
Alternate between warm and cool water soaks to improve circulation and enhance cuticle health.
Start with warm water for softening, then finish with cool water to tighten and tone the skin.
Overnight Treatments
Apply a thick layer of cuticle cream before bed and wear cotton gloves overnight. This intensive treatment deeply moisturizes and repairs damaged cuticles while you sleep.
Seasonal Adjustments
Increase your cuticle care frequency during winter months when dry air and indoor heating damage your skin.
Summer may require more frequent oil applications due to increased handwashing and sun exposure.
Product Rotation
Use different cuticle oils and creams to provide varied nutrients to your skin. Rotate between vitamin E oil, jojoba oil, and commercial cuticle treatments for comprehensive care.
Building Your Cuticle Care Schedule
Consistency trumps intensity when it comes to cuticle care. Develop a sustainable routine that fits your lifestyle and stick to it for best results.
Weekly Deep Care Sessions
Schedule 20-30 minutes once weekly for thorough cuticle care. Choose a consistent day and time to build the habit.
Sunday evenings work well for many people as preparation for the week ahead.
Daily Quick Maintenance
Spend two minutes each morning applying cuticle oil and massaging your nail beds. This simple habit maintains your weekly work and prevents problems from developing.
Monthly Assessment
Evaluate your cuticle health monthly and adjust your routine as needed. Take progress photos to track improvements and identify areas needing more attention.
Conclusion
Consistent DIY cuticle care creates healthier nails and saves money while giving you salon-quality results at home.
Remember that patience and consistency yield the best results in cuticle care. Start slowly, invest in quality tools, and never rush the process.
Your nails will thank you with improved health and appearance that lasts.