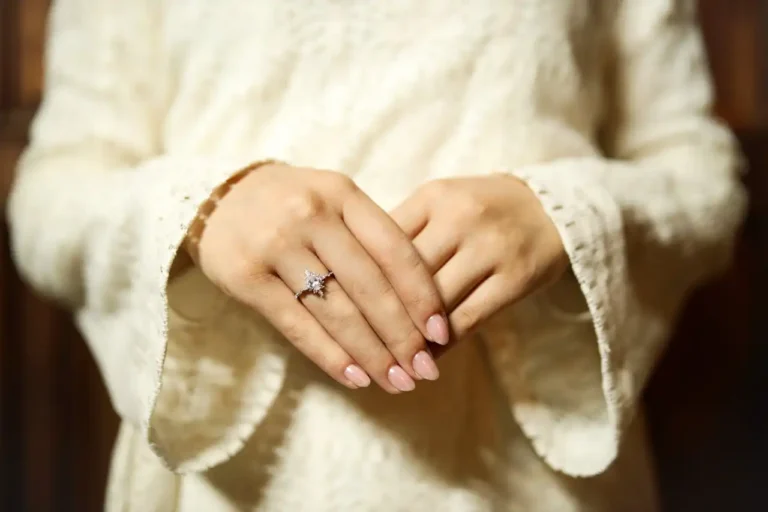
10 Nail Art Designs You Can Do at Home
Transform your nails into stunning works of art without stepping foot in a salon.
You don’t need expensive tools or professional training to create beautiful nail designs.
With basic supplies and these simple techniques, you’ll master gorgeous nail art that rivals any professional manicure.
1. Classic French Tips with a Twist

You can elevate the timeless French manicure by adding your own creative spin.
Instead of the traditional white tips, experiment with metallic shades like rose gold or silver.
These colors add sophistication while maintaining the classic elegance you love.
Start with a clear base coat and let it dry completely. Apply your chosen tip color using steady, sweeping motions from one side of the nail to the other. Don’t worry about perfection – slight variations add character to your design.
For extra flair, try colored French tips in pastels or bold hues.
Pink, lavender, or even neon green tips create a modern twist on the classic look. You can also vary the thickness of the tips for a more contemporary feel.
Consider adding a thin glitter line where the tip meets the natural nail.
This simple addition transforms your French manicure into something truly special and eye-catching.
2. Polka Dot Paradise
Polka dots bring playful charm to any manicure, and you can create them effortlessly with tools you already have.
A bobby pin becomes your best friend for this design – simply dip the round end in nail polish and press it onto your nail.
Begin with a solid base color and allow it to dry thoroughly. Choose a contrasting color for your dots to ensure they pop against the background.
Light dots on dark bases or dark dots on light bases create the most striking contrast.
Vary the size of your dots by using different tools.
Toothpicks create tiny dots, while the eraser end of a pencil makes medium-sized circles. For larger dots, try using a small makeup sponge cut into a circle.
Arrange your dots in patterns or scatter them randomly across your nails.
You can create gradient effects by making dots smaller as they move toward the nail tips, or cluster them at the base for an accent look.
3. Gradient Ombre Effect
Create stunning gradient effects that blend colors seamlessly across your nails.
This technique looks complex but requires only a makeup sponge and two or more complementary colors.
The key lies in working quickly while the polish remains wet.
Apply your lightest color as a base coat across the entire nail.
While it’s still slightly tacky, add drops of your second color to a makeup sponge. Dab the sponge gently onto the nail, concentrating the darker color at the tips.
Blend the colors by dabbing the sponge in gentle, overlapping motions. Work from the tip toward the base, gradually lightening the pressure.
The more you dab, the more blended your gradient becomes.
For a sunset effect, use three colors: yellow at the base, orange in the middle, and red at the tips.
Ocean gradients work beautifully with light blue fading to deep navy. Clean up the edges with a small brush dipped in nail polish remover for crisp, professional-looking results.
4. Striped Sophistication
Stripes add instant sophistication to your manicure and require minimal artistic skill.
Thin striping tape creates perfectly straight lines, while freehand painting gives a more organic, artistic feel.
Apply your base color and let it dry completely before adding stripes.
For tape application, press the tape firmly onto your nail, leaving space for your stripe color.
Paint over the tape and remove it immediately while the polish is still wet.
Freehand stripes offer more creative freedom. Use a thin nail art brush or even a toothpick to draw lines across your nails.
Diagonal stripes create dynamic movement, while vertical stripes elongate your fingers.
Mix stripe widths for visual interest.
Combine thick and thin lines, or alternate between different colors.
Metallic stripes over matte bases create stunning contrast, while rainbow stripes bring playful energy to your look.
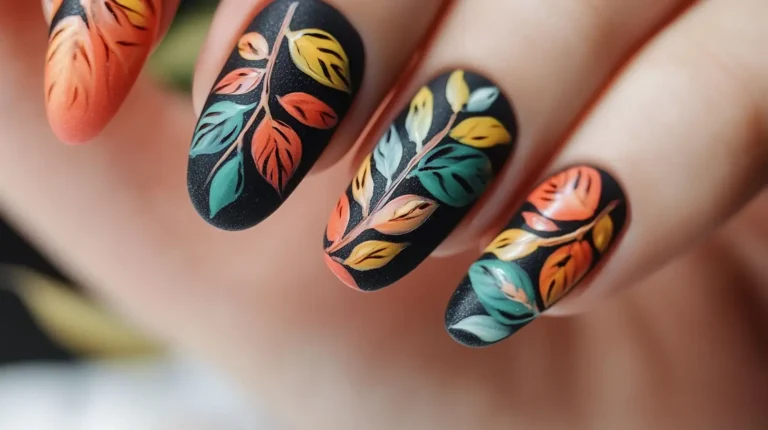
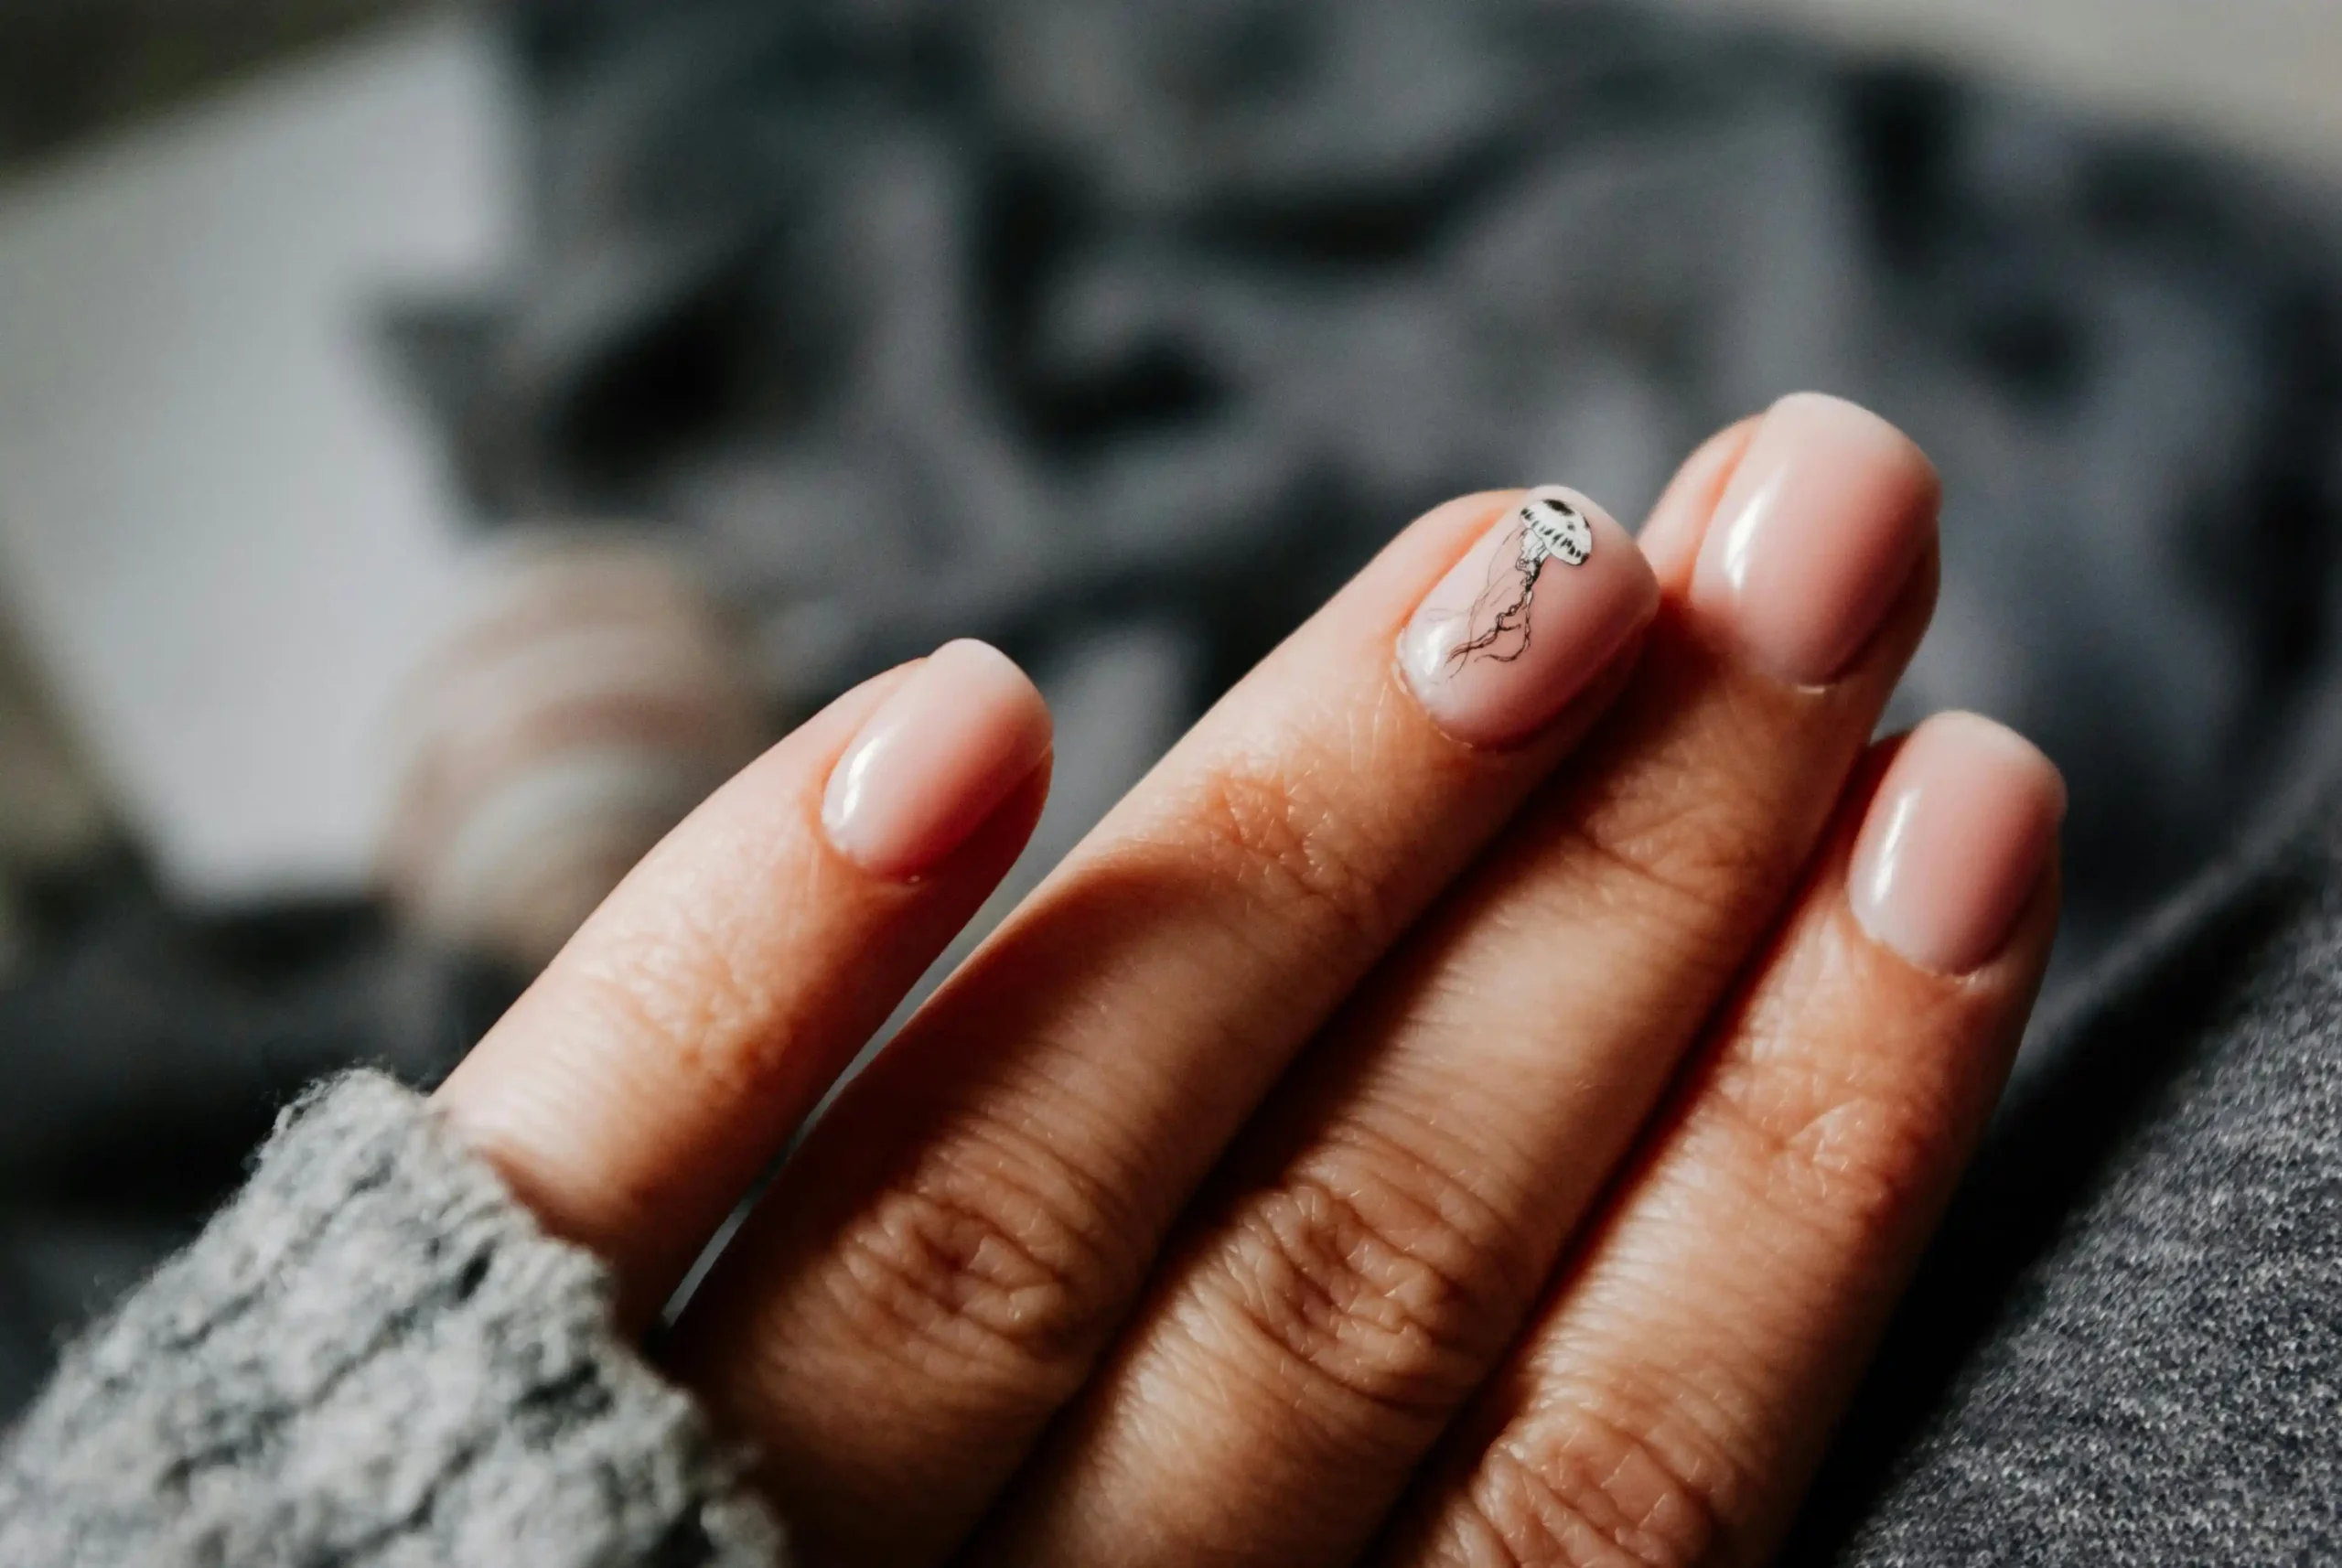
5. Floral Fantasy
Delicate flowers transform your nails into miniature gardens.
You don’t need artistic training to create beautiful blooms – simple dot techniques can produce stunning floral designs that look professionally crafted.
Start with five dots arranged in a circle for basic flower petals.
Use a toothpick to gently drag from the center of each dot toward the outside, creating petal shapes. Add a contrasting center dot to complete your flower.
Create different flower types by varying your technique.
Elongated petals form daisies, while rounded petals suggest roses. Layer different sized flowers for depth and visual interest across your nails.
Add leaves using a thin brush to paint small oval shapes in green. Connect flowers with delicate vine lines for a cohesive garden theme.
Soft pastels work beautifully for spring looks, while bold, tropical colors create summer vibes.
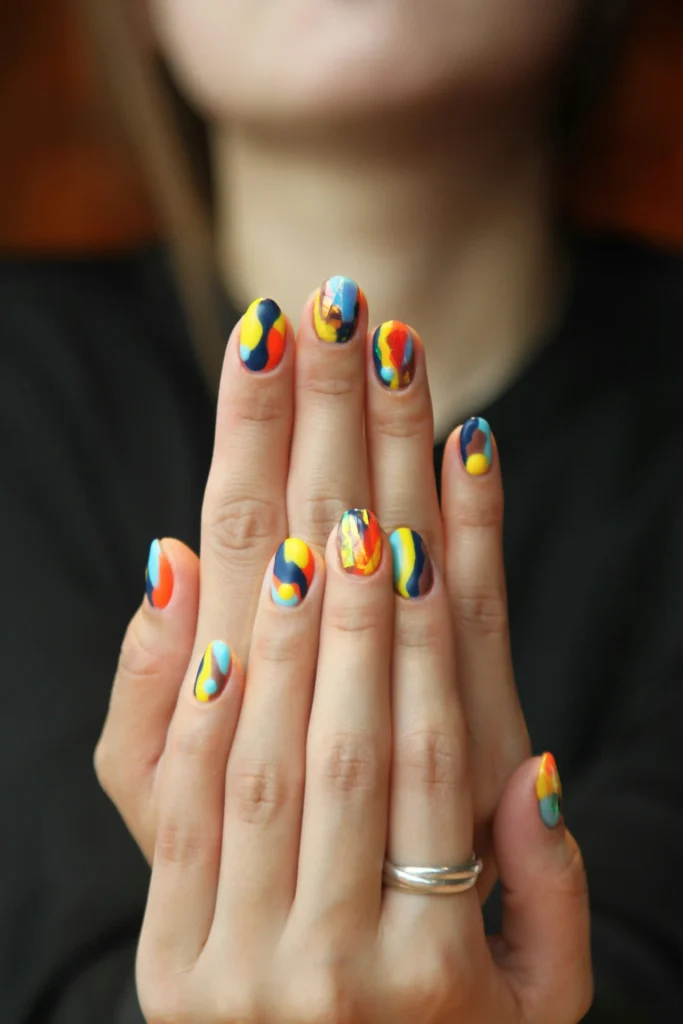
6. Geometric Patterns
Clean geometric shapes bring modern sophistication to your nail art.
Triangles, diamonds, and chevrons create striking patterns that look incredibly chic and contemporary.
Use striping tape to create sharp, clean lines for your geometric shapes.
Apply your base color first, then use tape to section off areas for different colors.
Paint within the taped sections and remove the tape while the polish is wet.
Create diamond patterns by crossing diagonal lines.
Start with tape placed diagonally across your nail, paint one section, remove the tape, and repeat with tape in the opposite direction. This creates perfect diamond shapes.
Chevron patterns add dynamic movement to your nails.
Use tape to create V-shapes pointing toward your nail tips.
Alternate colors for each chevron section to create bold, eye-catching designs that photograph beautifully.
7. Marble Magic
Achieve stunning marble effects using just water and nail polish.
This technique creates unique patterns that never repeat exactly, making each nail a one-of-a-kind masterpiece.
Fill a small cup with room-temperature water. Drop different colored nail polishes onto the water surface – they’ll spread and create rings.
Use a toothpick to drag through the colors, creating marble-like swirls and patterns.
Protect your fingers by applying tape around your nails, leaving only the nail surface exposed.
Dip your nail straight down into the water, through the polish design. The pattern transfers onto your nail instantly.
Lift your nail straight up and clean away excess polish from the water surface before your next nail.
Each dip creates a completely different pattern, ensuring no two nails look identical. Finish with a top coat to seal the design.
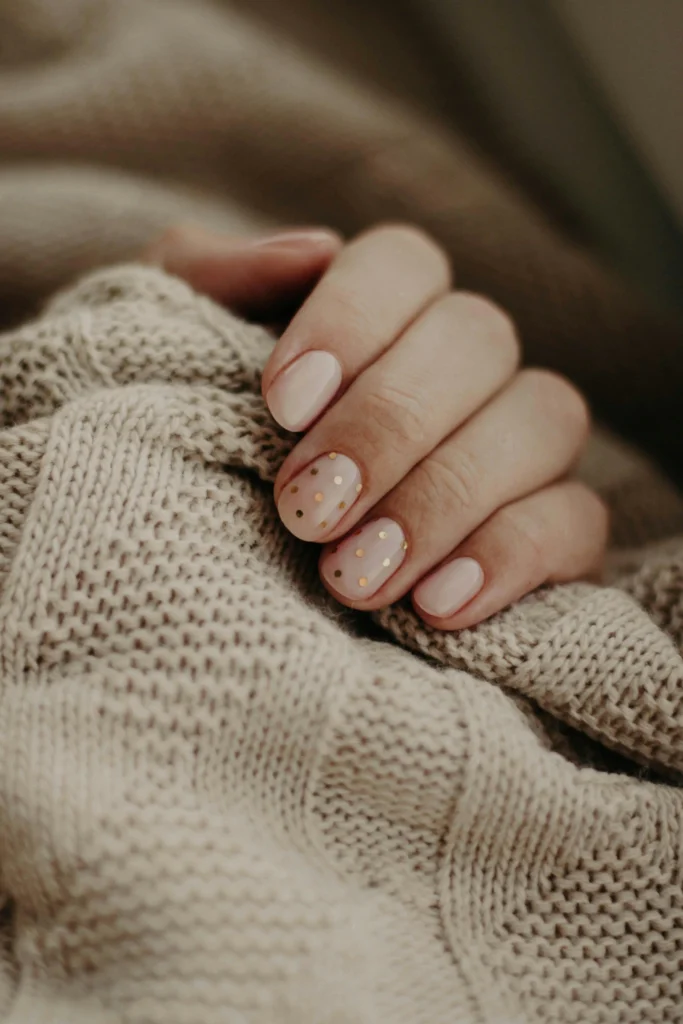
8. Glitter Accent Nails
Strategic glitter placement creates glamorous focal points without overwhelming your manicure.
Choose one or two nails per hand for glitter application to maintain sophisticated balance.
Apply glitter over a complementary base color for the most impact.
Dark bases make glitter pop dramatically, while light bases create subtle sparkle. Build up glitter gradually – you can always add more, but removing excess is difficult.
Create gradient glitter effects by concentrating sparkles at the nail tips and fading toward the base.
This technique elongates your fingers while adding glamorous shine. Use a makeup sponge to dab glitter polish for the most even distribution.
Mix different glitter sizes for textural interest.
Combine fine glitter with larger pieces for dimensional effects.
Holographic glitters create rainbow reflections that change with movement, adding extra visual interest to your design.
9. Negative Space Design
Negative space designs use your natural nail as part of the art, creating modern, minimalist looks that feel fresh and contemporary.
These designs prove that sometimes less truly is more.
Start with a clear base coat to protect your natural nail. Use striping tape to block off sections you want to keep clear.
Paint the exposed areas with your chosen colors, then remove the tape while polish is wet.
Create half-moon designs by placing round stickers at your nail base.
Paint over the sticker and remove it to reveal the natural nail underneath. This creates elegant crescents that feel both classic and modern.
Geometric negative space patterns work beautifully for minimalist aesthetics.
Try triangular cutouts at nail corners or diamond shapes in the center. These designs look sophisticated and work perfectly for professional settings.
10. Watercolor Wash
Soft watercolor effects create dreamy, artistic nails that look like miniature paintings.
This technique uses the natural bleeding properties of nail polish to create organic, flowing designs.
Apply a white or light base color as your canvas.
While it’s still slightly wet, add small drops of different colored polishes.
Use a clean, slightly damp brush to blend the colors gently, creating soft, watercolor-like transitions.
Work quickly while the polish remains workable. Blend colors in circular motions for cloud-like effects, or use linear strokes for more structured washes.
The key is light pressure and quick movements.
Layer multiple transparent colors for depth and complexity.
Allow each layer to partially dry before adding the next.
This creates beautiful color interactions that mimic traditional watercolor painting techniques.
Finish with a glossy top coat to enhance the dreamy effect.
Conclusion
These ten nail art designs prove you don’t need a salon for stunning manicures. With practice and creativity, you’ll create beautiful nail art at home.