How to Do a Salon-Quality Manicure at Home
You don’t need to spend a fortune at the salon to achieve perfectly polished nails.
With the right techniques and tools, you can create stunning, professional-looking manicures from your own home.
Your kitchen table can become your personal nail station. The key lies in understanding proper techniques and taking your time with each step.
Professional results require patience and practice, but once you master these methods, you’ll save money while enjoying beautiful nails whenever you want them.
Gathering Your Tools and Supplies

Success starts with having the right equipment at your fingertips.
You’ll need a high-quality nail file, preferably glass or crystal, which provides smoother filing than traditional emery boards.
Glass files last longer and create less damage to your nail plate.
Invest in a good cuticle pusher, either metal or wooden orange sticks.
Metal pushers work more effectively but require gentler pressure to avoid injury.
You’ll also need cuticle nippers for precise trimming, though beginners should use these sparingly.
Your polish collection should include a base coat, your chosen color, and a high-quality top coat.
Base coats protect your nails and help polish adhere better. Top coats provide shine and extend your manicure’s lifespan significantly.
Additional supplies include cotton pads, acetone or nail polish remover, hand cream, cuticle oil, and a small bowl for soaking.
Having everything organized before you start prevents interruptions and ensures smooth application.
Preparing Your Nails
Start by removing any existing polish completely. Soak a cotton pad with acetone-free remover and press it against each nail for several seconds.
This softens the polish and makes removal easier without excessive rubbing.
Wash your hands thoroughly with soap and warm water to remove oils and debris.
Clean nails accept polish better and prevent contamination that could cause chipping or peeling later.
Trim your nails to your desired length using sharp nail clippers.
Cut straight across, leaving enough length to file into your preferred shape. Avoid cutting too short, as this can lead to painful ingrown nails.
Soak your fingertips in warm, soapy water for three to five minutes. This softens cuticles and makes them easier to work with safely.
Add a few drops of essential oil to make the experience more luxurious.
Shaping and Filing Techniques
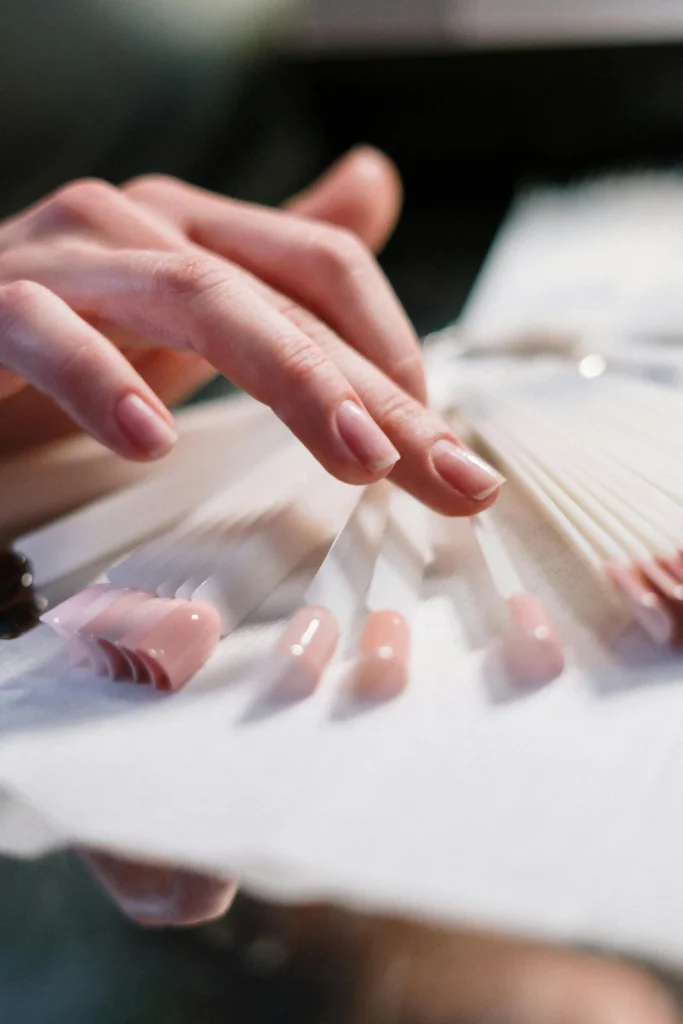
Choose your nail shape based on your finger length and personal preference.
Square shapes work well for shorter fingers, while oval or almond shapes elongate the appearance of your hands.
File in one direction only, never back and forth.
This prevents splitting and weakening of the nail plate. Start from the outer edge and file toward the center, then repeat from the other side.
Hold the file at a 45-degree angle underneath your nail.
This creates a smooth edge and prevents sharp corners that catch on clothing or hair.
Take your time with this step, as proper shaping forms the foundation of your manicure.
Check your progress frequently by looking at your nails from different angles.
Ensure all nails match in length and shape for a professional appearance. Minor adjustments now save time during the polish application phase.
Cuticle Care
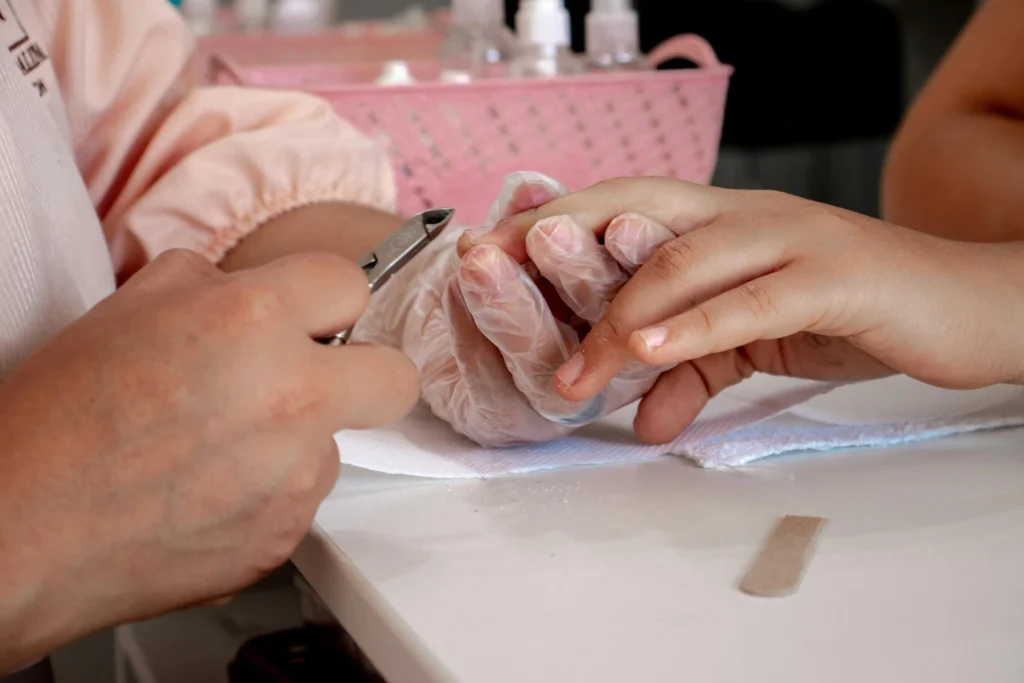
Gently push back your cuticles using your chosen tool. Work slowly and apply minimal pressure to avoid tearing or cutting the delicate skin.
Push from the base of the nail toward the tip in small, controlled movements.
Remove only excess cuticle skin, not the entire cuticle.
Cuticles protect your nail matrix from bacteria and infection. Over-cutting can lead to painful hangnails and increase infection risk.
Apply cuticle oil around the nail bed and massage gently.
This nourishes the area and promotes healthy nail growth. Regular cuticle care between manicures maintains nail health and appearance.
If you notice hangnails, trim them carefully with cuticle nippers rather than pulling them off.
Pulling creates tears that extend deeper into the skin and cause more damage.
Base Coat Application
Apply a thin layer of base coat to clean, dry nails. Start with a stroke down the center of your nail, then add strokes on each side.
This three-stroke method ensures even coverage without streaking.
Extend the base coat slightly under the nail tip to create a seal.
This prevents water and bacteria from getting underneath your polish and helps prevent chipping from daily activities.
Allow the base coat to dry completely before proceeding.
Rushing this step leads to bubbles and uneven polish application. Test dryness by gently tapping your nails together – they should feel smooth, not tacky.
Clean up any base coat that touches your skin with a small brush dipped in acetone.
Removing these mistakes now prevents them from affecting your final result.
Polish Application Techniques
Roll your polish bottle between your palms rather than shaking it.
Shaking creates air bubbles that transfer to your nails during application. Rolling mixes the polish evenly without introducing air.
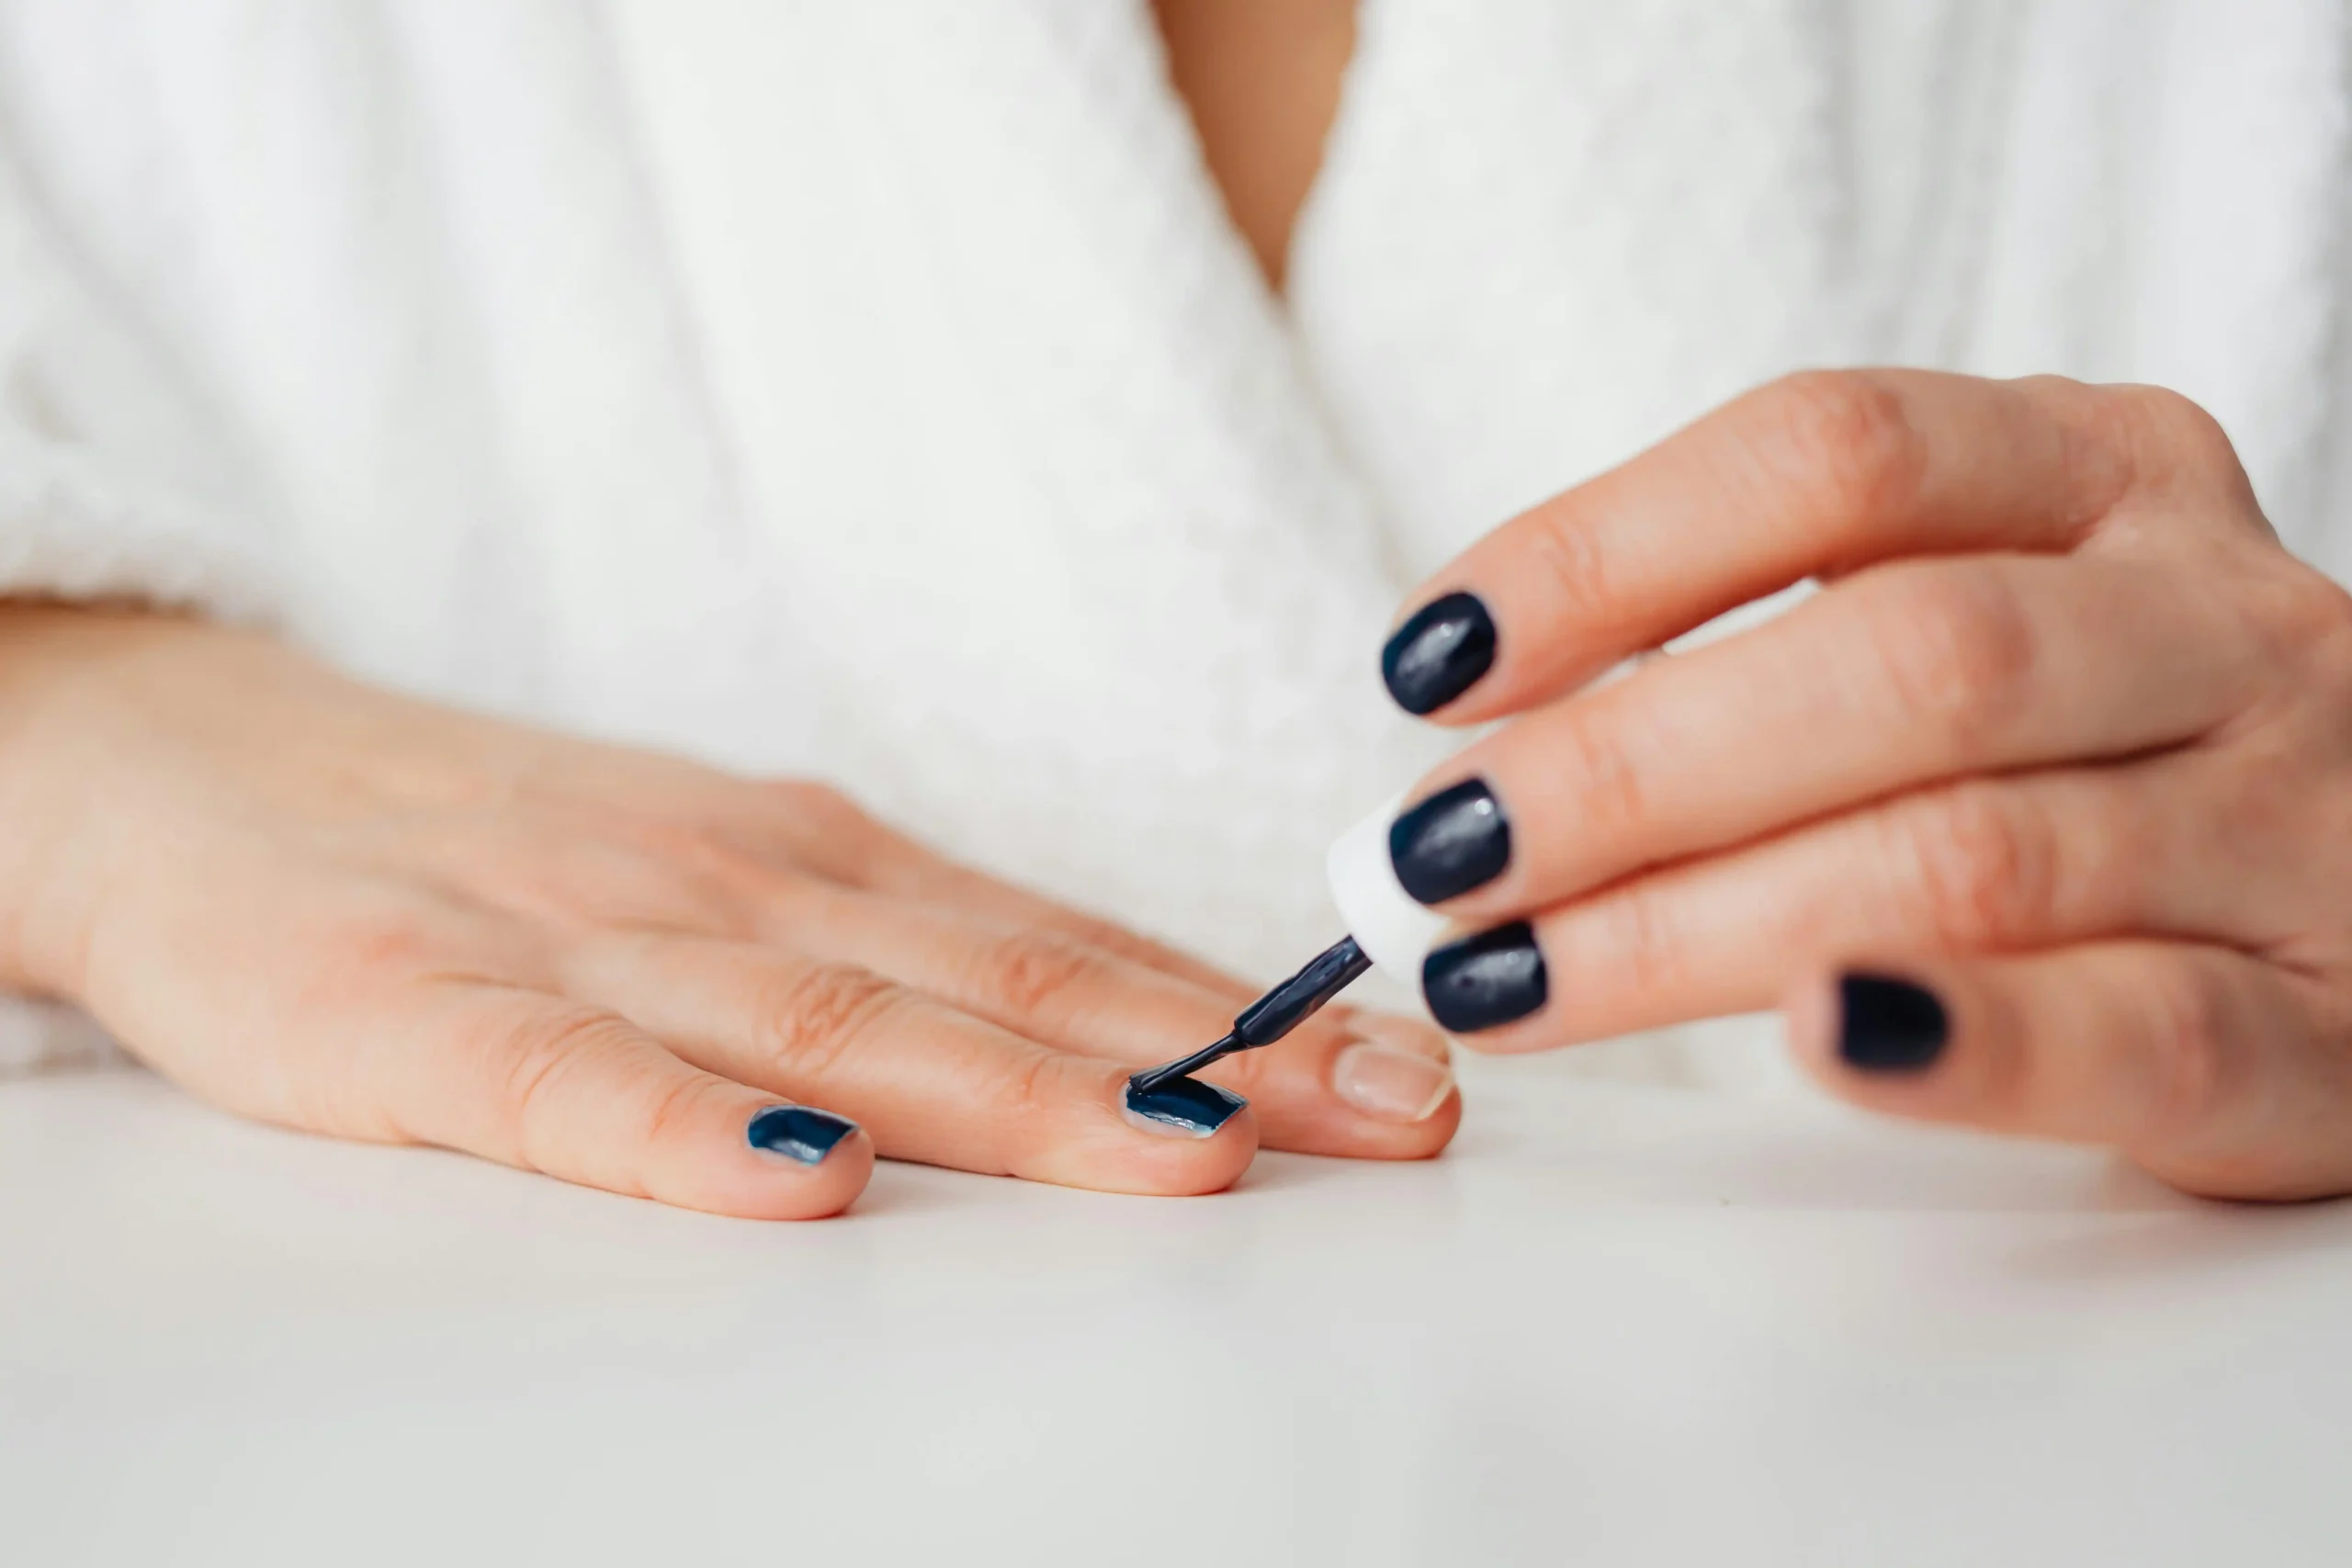
Apply polish in thin, even layers rather than trying to achieve full coverage in one coat.
Thin layers dry faster and create a smoother, more professional finish than thick, gloopy applications.
Use the three-stroke method for each nail. Place the brush slightly away from your cuticle, then push forward to create a small gap between the polish and your skin.
This prevents flooding and makes cleanup easier.
Allow each coat to dry partially before applying the next one.
The surface should feel dry to the touch but not completely cured. This timing helps layers bond properly without creating drag marks.
Most colors require two coats for full opacity. Some lighter or sheer colors may need three coats.
Build coverage gradually rather than applying thick coats that take forever to dry.
Clean up mistakes immediately with a small brush dipped in acetone. Work quickly while the polish is still wet for easiest removal.
Once polish begins to set, cleanup becomes more difficult and may require starting over.
Top Coat and Finishing
Apply top coat using the same three-stroke method as your color polish. Ensure you cover the entire nail surface and wrap slightly under the nail tip for maximum protection.
Pay special attention to the nail tips, as this area experiences the most wear. A properly applied top coat prevents chipping and extends your manicure’s lifespan significantly.
Work quickly but carefully during top coat application. Most top coats dry faster than regular polish, giving you less time to correct mistakes or ensure even coverage.
Apply a second thin layer of top coat if desired for extra shine and protection. This works particularly well for special occasions when you want maximum durability and gloss.
Drying and Aftercare
Allow your manicure to dry completely before engaging in activities that might cause damage.
True drying takes much longer than surface drying – plan for at least an hour of careful movement.
Apply cuticle oil around your nail beds once your polish is completely dry. This nourishes the area and helps maintain the health of your natural nails underneath the polish.
Wear gloves when cleaning, gardening, or doing dishes to protect your manicure. Water and harsh chemicals break down polish and cause premature chipping.
Apply hand cream regularly, but avoid getting it directly on your polish. Focus on your palms and the backs of your hands to maintain skin health without compromising your manicure.
Troubleshooting Common Issues
Bubbles in your polish usually result from shaking the bottle or applying coats too quickly. Prevention works better than correction – roll your polish and wait between coats.
Chipping often occurs due to inadequate preparation or skipping the base coat. Ensure your nails are completely clean and always use base coat for maximum adhesion.
Smudges happen when polish isn’t dry enough before you touch something. Be patient with drying time, or invest in a quick-dry top coat to speed the process safely.
Uneven application usually results from incorrect brush pressure or rushed technique. Practice the three-stroke method and maintain consistent pressure throughout each nail.
Flooding occurs when you place the brush too close to your cuticle or use too much polish on the brush. Wipe excess polish from the brush before application and maintain a small gap at the cuticle line.
Streaky coverage often indicates old or thick polish. Thin slightly with polish thinner (never nail polish remover) or replace old bottles that no longer apply smoothly.
Maintaining Your Manicure
Touch up chips immediately to prevent them from spreading. Clean the chipped area, apply a small amount of matching polish, and seal with top coat once dry.
Reapply top coat every few days to maintain shine and add extra protection. This simple step can double your manicure’s lifespan with minimal effort.
Moisturize your hands and cuticles daily, but avoid getting lotion directly on your polish. Focus moisturizing efforts on areas that don’t affect your manicure’s integrity.
Schedule your next manicure based on your nail growth rate, typically every seven to fourteen days. Consistent maintenance keeps your nails healthy and looking professional.
Conclusion
With practice and patience, you can achieve salon-quality results at home while saving time and money for other priorities.