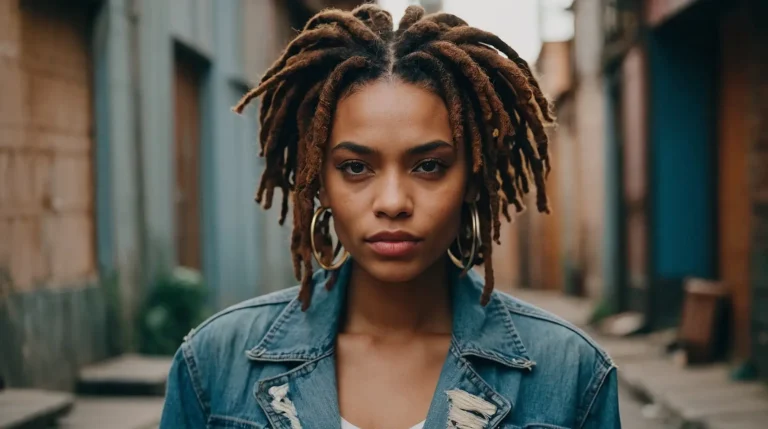
10 Easy Hairstyles You Can Do in Under 5 Minutes
Running late again? You’re not alone. Between hitting the snooze button one too many times and scrambling to find matching socks, your hair routine often gets sacrificed.
But here’s the thing: you don’t need an hour-long styling session to look put-together. These ten quick hairstyles will transform your look in minutes, not hours.
Whether you’re rushing to work, heading to class, or just want to elevate your everyday style, these simple techniques work for almost every hair type and length.
Ready to master the art of quick styling? Let’s dive into these game-changing hairstyles that prove less time doesn’t mean less style.
1. The Classic High Ponytail
You can never go wrong with a sleek high ponytail. This timeless style works for any occasion and takes less than two minutes to perfect.
Start by brushing your hair straight back, gathering it at the crown of your head. Secure with an elastic band, making sure to pull the ponytail tight for a polished look.
The key to elevating this basic style lies in the details. For extra volume, gently tease the hair at your crown before pulling it back.
Take a small section of hair from the underside of your ponytail and wrap it around the elastic band. This simple trick hides the hair tie and creates a more sophisticated appearance.
Secure the wrapped section with a bobby pin underneath the ponytail where it won’t show.
This adds height and prevents your style from looking flat against your head. Finish with a light mist of hairspray to keep everything in place throughout the day.
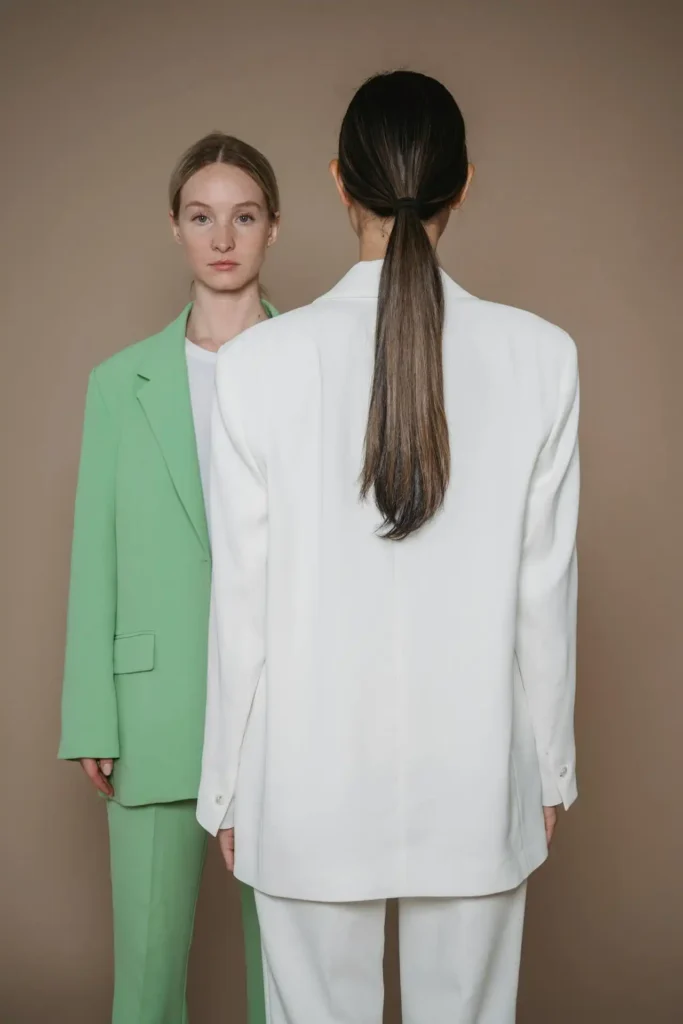
2. The Effortless Low Bun
When you want to look polished without trying too hard, the low bun delivers every time. This versatile style works equally well for professional meetings and casual coffee dates.
Begin by creating a low ponytail at the nape of your neck, but don’t pull your hair all the way through the elastic on the final wrap. This creates a loop that forms the base of your bun.
Twist the remaining length of your hair and wrap it around the base of the loop. The beauty of this style lies in its imperfection – you want it to look slightly undone and natural.
Secure everything with bobby pins, inserting them at angles to ensure they grip properly.
Don’t worry about making it perfect; a few loose pieces around your face actually enhance the effortless vibe.
Pull out a couple of face-framing strands and give them a slight twist for a softer, more romantic look.
3. The Half-Up Top Knot
This trendy style gives you the best of both worlds: the sophistication of an updo with the casual appeal of wearing your hair down.
Section off the top half of your hair, from ear to ear across the back of your head. The trick here is to make it look intentionally messy.
Gather this upper section and pull it toward the crown, creating a high ponytail. Instead of securing it normally, twist the hair and wrap it into a small bun.
Don’t smooth down every flyaway – they add character and movement to the style. Leave the bottom half of your hair loose, either straight or with loose waves.
This hairstyle works particularly well if you have layers, as they create natural texture and movement.
Add some texturizing spray to enhance the piece-y, lived-in look that makes this style so appealing.
4. The Twisted Side Sweep
Perfect for when you want something more interesting than your usual side part, this twisted style adds elegant detail without requiring advanced skills.
Create a deep side part and take a three-inch section of hair from the heavier side.
Begin twisting this section away from your face, gradually adding more hair as you work your way back toward your ear.
Once you reach your ear, secure the twist with a bobby pin that matches your hair color. Let the rest of your hair fall naturally over your shoulders.
You can either pin it behind your ear for a subtle look or create a more dramatic effect by pinning it slightly above your ear.
This style works beautifully with both straight and wavy hair, and it’s particularly flattering if you want to show off earrings or create an asymmetrical look.
5. The Quick Braided Headband
Transform a simple braid into a beautiful headband that keeps hair out of your face while adding bohemian flair to your look.
Start by parting your hair on one side, then take a section of hair from behind your ear on the smaller side of the part. Braid this section loosely, securing the end with a small clear elastic.
Bring the braid across the top of your head like a headband, positioning it about two inches back from your hairline.
Pin the end of the braid behind your opposite ear with bobby pins. Pull out a few face-framing pieces for a softer, more romantic effect.
This style works especially well with textured or wavy hair, but you can also add some waves with a curling iron if your hair is naturally straight.
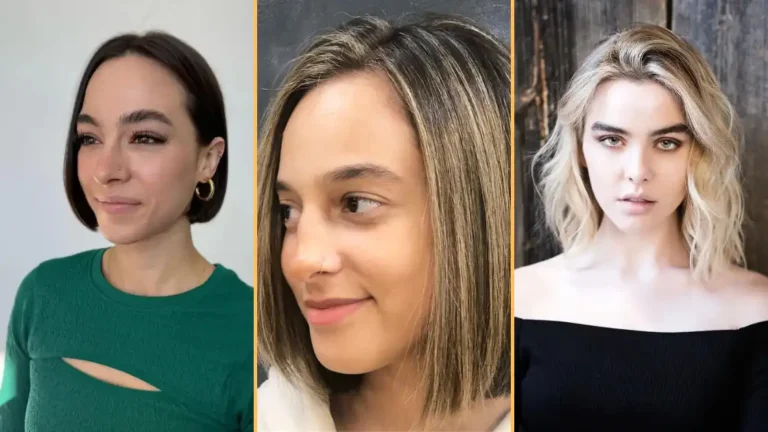
6. The Sleek Side Part
Sometimes the most elegant styles are the simplest ones. A perfectly executed side part can instantly elevate your entire look with minimal effort.
Create a sharp side part using a rat-tail comb, making the line as straight and clean as possible.
Apply a small amount of smoothing serum to damp hair, then blow-dry while using a paddle brush to create sleekness.
The key to this style is the precision of the part and the smoothness of the hair.
Use a flat iron on small sections if needed to eliminate any kinks or waves. Finish with a shine spray to enhance the glossy, healthy appearance.
This classic look works beautifully for professional settings and formal events. It’s particularly stunning when you want to showcase statement earrings or a bold lip color.
7. The Messy Side Braid
Embrace the undone aesthetic with this relaxed braid that looks like you spent way more time on it than you actually did.
Sweep all your hair to one side and begin a loose side braid, starting just behind your ear. Don’t worry about making it tight or perfect – the messier, the better.
As you braid, gently pull apart the sections to create volume and texture. This technique, called “pancaking,” makes the braid appear fuller and more intricate than it actually is.
Secure the end with a clear elastic and gently tug at pieces around your hairline to create a soft, romantic frame around your face.
This style works wonderfully for casual days when you want to look put-together without appearing overly styled.
8. The Double Twisted Ponytail
Add visual interest to a basic ponytail by incorporating twists that create the illusion of a more complex hairstyle.
Part your hair down the middle and create two loose twists on either side of your head, starting from your temples and working back toward your ears.
Don’t twist too tightly – you want them to look relaxed and natural. Gather all your hair, including the twisted sections, into a low ponytail at the nape of your neck.
The twists frame your face beautifully while adding texture and dimension to an otherwise simple style.
For extra polish, wrap a small section of hair around the elastic to hide it, just like with the high ponytail. This detail makes the style look more intentional and finished.
9. The Quick Space Buns
Perfect for when you want to channel a fun, youthful vibe, space buns are having a major moment and take less than three minutes to create.
Part your hair down the middle and create two high ponytails on either side of your head, positioned above your ears. Twist each ponytail and wrap it around its base to form a bun.
The key to making space buns look intentionally messy rather than sloppy is to pull out a few pieces around your face and let some shorter layers escape the buns naturally.
This playful style works great for festivals, casual outings, or any time you want to add some fun to your look. Don’t be afraid to make them slightly uneven – imperfection is part of the charm.
10. The Rolled Chignon

This sophisticated updo looks complicated but comes together surprisingly quickly once you master the technique.
Start with a low ponytail and divide it into two sections. Twist these sections in opposite directions, then wrap them around each other to create a rope-like texture.
Roll this twisted rope upward against your head, tucking the end under to create a chignon shape. Secure with bobby pins inserted at different angles to ensure everything stays in place.
Pull out a few face-framing pieces and give them a gentle curl with your fingers. This softens the style and prevents it from looking too severe or formal.
Pro Tips for Quick Styling Success
The secret to mastering these quick styles lies in preparation and the right tools. Invest in quality bobby pins that match your hair color – they’ll grip better and blend seamlessly.
Keep a small bottle of texturizing spray in your bag for touch-ups throughout the day.
This product adds grip to fine hair and enhances the texture in thicker hair, making styles hold better.
Practice these techniques when you have time, so you can execute them quickly when you’re in a rush.
Muscle memory makes all the difference when you’re trying to style your hair in under five minutes.
Don’t underestimate the power of dry shampoo. It adds texture and volume while absorbing excess oil, making your hair easier to style and helping your finished look last longer.
Conclusion
Quick doesn’t mean compromising on style. These ten hairstyles prove you can look polished and put-together in minutes, not hours.