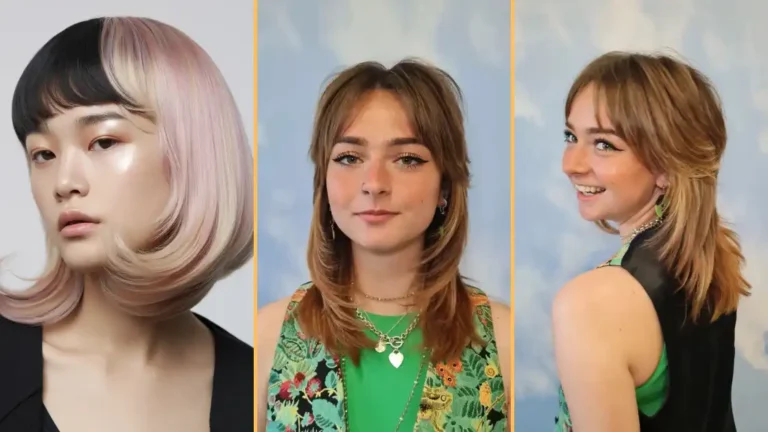
How to Curl Your Hair Without Heat (Step-by-Step)
You’ve probably damaged your hair with hot tools more times than you’d like to admit. The good news?
You can achieve gorgeous, bouncy curls without touching a single heated styling tool.
Heat-free curling methods protect your hair from damage while creating natural-looking waves and curls. These techniques work on all hair types and lengths.
Ready to discover the secrets to stunning curls that won’t fry your strands? Let’s dive into the most effective no-heat curling methods that actually work.
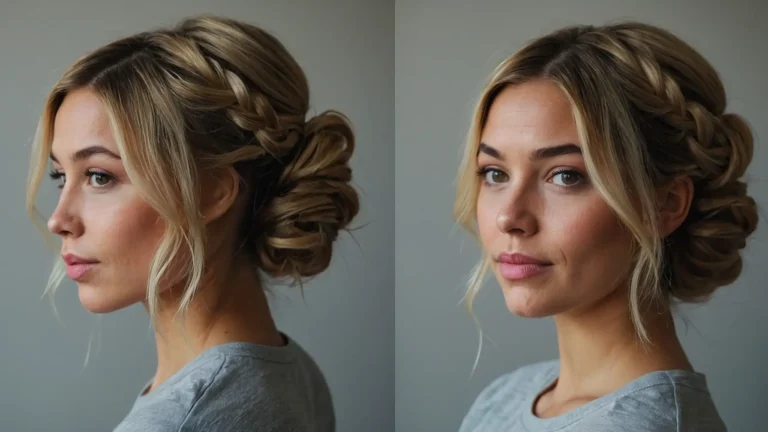
The Classic Braid Method
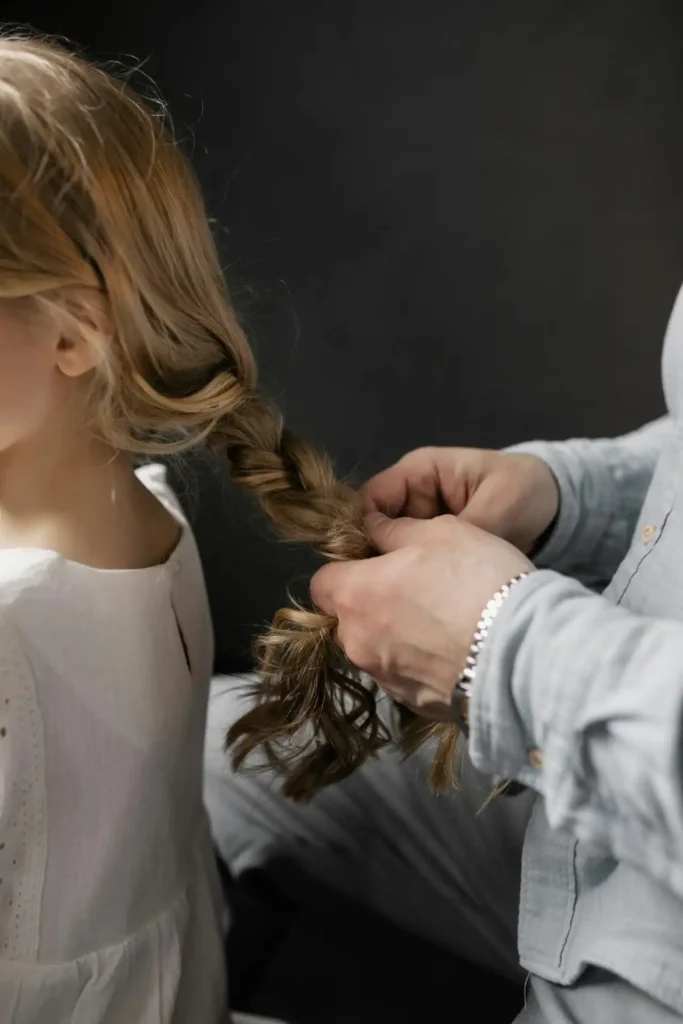
Braiding remains one of the most reliable ways to create beautiful waves without heat.
You can customize your curl pattern by adjusting your braiding technique and the number of braids you create.
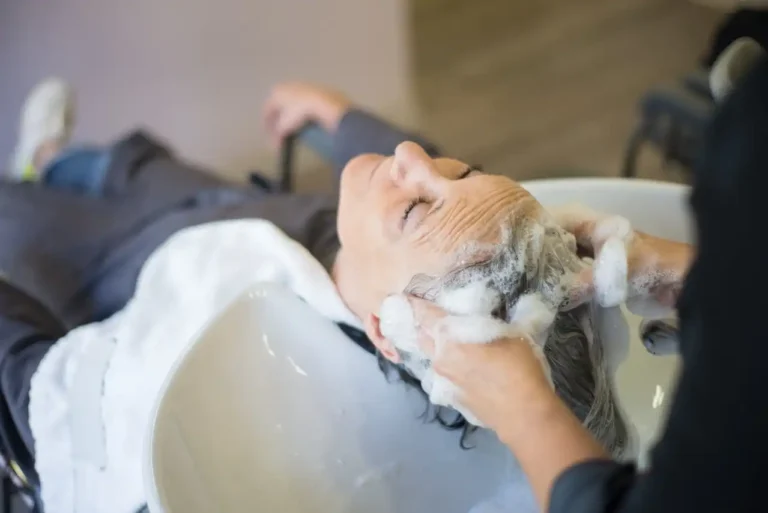
Start with slightly damp hair for the best results. Your hair should feel moist but not dripping wet.
Apply a lightweight styling cream or mousse from mid-length to ends, avoiding your roots to prevent greasiness.
Divide your hair into sections based on how tight you want your curls.
Create 2-3 sections for loose waves, or 6-8 sections for tighter curls. The more braids you make, the more defined your curl pattern will be.
Begin each braid at the base of your neck and work your way down. Secure each braid with a soft hair tie or scrunchie.
Keep the tension consistent but not too tight – you don’t want to stress your hair or create uncomfortable sleeping conditions.
Sleep with your braids in, or leave them for at least 6-8 hours if you’re doing this during the day.
When you’re ready to unveil your curls, gently remove the hair ties and carefully separate the braids with your fingers.
Sock Curls: Your New Best Friend
Sock curls might sound strange, but they create some of the most natural-looking curls you’ll ever achieve. This method works particularly well for medium to long hair lengths.
You’ll need clean, cotton socks for this technique. Cut the toe section off each sock to create tubes.
The number of socks you need depends on your hair thickness – typically 6-10 socks work well for most people.
Start with damp hair and apply your favorite curl-enhancing product.
Take a section of hair about an inch wide and place the sock at the ends of your hair. Roll the hair around the sock, moving upward toward your scalp.
Once you reach your desired height (usually mid-length or higher), tie the sock in a knot to secure it.
The beauty of sock curls lies in their comfort – you can sleep in them without any discomfort.
Leave the socks in overnight or for at least 8 hours. When you remove them, you’ll have bouncy, spiral curls that look professionally styled.
Gently scrunch your hair with your hands to enhance the curl pattern and add volume.
Pin Curls for Vintage Glamour
Pin curls create elegant, vintage-inspired waves that work beautifully for special occasions or when you want to channel old Hollywood glamour.
Begin with damp hair and apply a styling gel or strong-hold mousse. Take small sections of hair, about half an inch wide.
This method requires more product than other techniques because you need the curls to hold their shape while pinned.
Wrap each section around your finger to create a tight coil, then slide your finger out while maintaining the curl shape. Pin the curl flat against your head using bobby pins or hair clips.
Work systematically around your head, creating pin curls in neat rows. Allow your hair to dry completely before removing the pins.
You can make them all curl in the same direction for a uniform look, or alternate directions for more texture and movement.
This usually takes 4-6 hours, depending on your hair thickness and the amount of product used.
Once dry, gently brush through the curls with a wide-tooth comb or your fingers to soften the look.
The Twist and Pin Method
This technique combines elements of pin curls with a modern twist, creating natural-looking waves with minimal effort.
Start with damp hair and apply a texturizing spray or light-hold mousse. Pin this twisted bun against your head with bobby pins.
The key to this method is working with hair that’s the right moisture level – too wet and it won’t dry properly, too dry and the curls won’t form.
Take a two-inch section of hair and twist it tightly from root to tip. Continue twisting until the hair begins to coil on itself, forming a small bun.
Repeat this process around your entire head, creating multiple twisted buns. Leave the twists in for at least 6 hours or overnight.
The size of each section determines your curl size – smaller sections create tighter curls, while larger sections produce looser waves.
When you unpin and untwist each section, you’ll have natural-looking waves with plenty of body and movement.
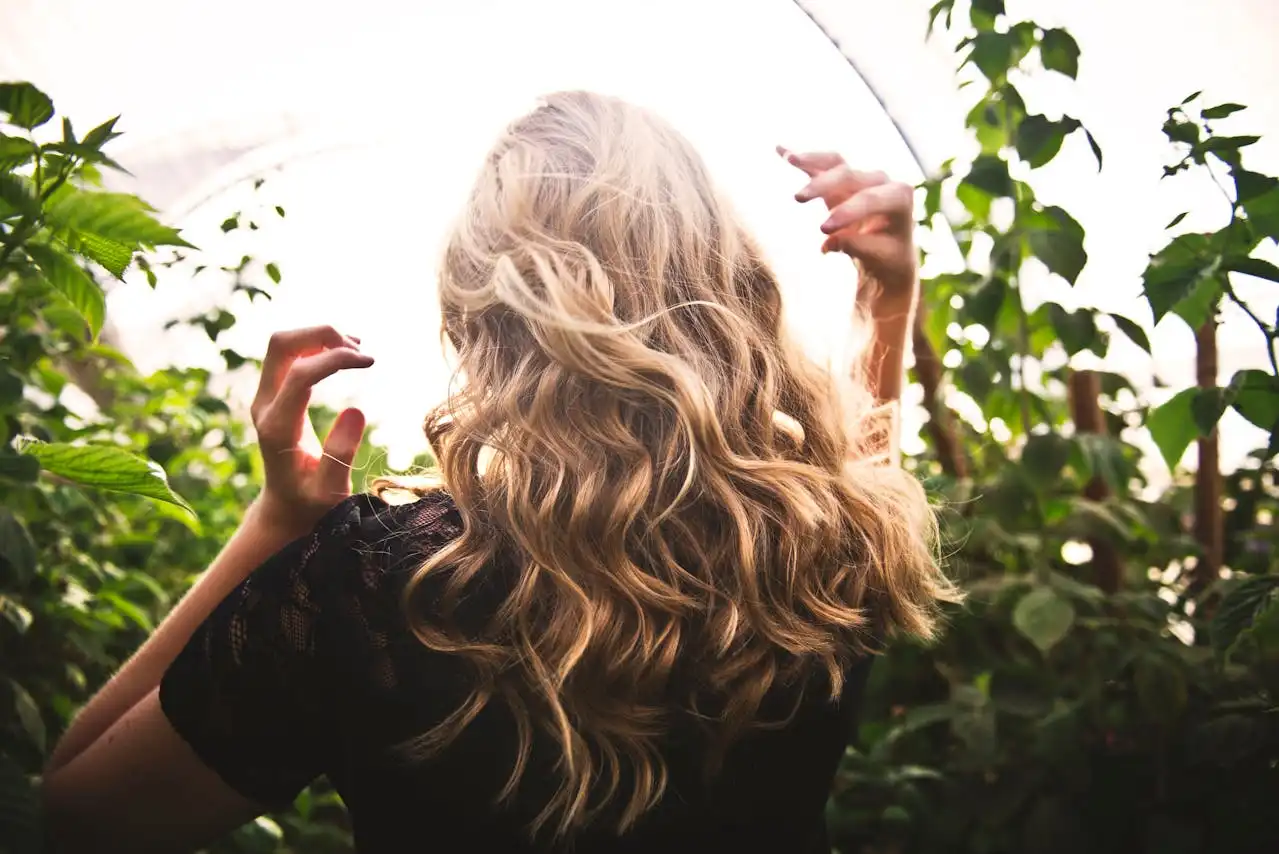
Rag Curls: The Gentle Approach
Rag curls offer one of the gentlest ways to curl your hair without heat. This old-fashioned technique creates soft, romantic curls that last for days.
Cut fabric strips from old cotton t-shirts or use actual rags. Each strip should be about 6-8 inches long and 1 inch wide. You’ll need 15-20 strips depending on your hair thickness.
Work with slightly damp hair and apply a curl-enhancing cream. Once you reach your desired height, tie the fabric strip in a bow to secure the curl.
Take a small section of hair and place the fabric strip at the ends. Roll the hair around the fabric, moving upward toward your scalp.
The soft fabric won’t create uncomfortable pressure points, making this method perfect for sleeping.
Leave the rags in overnight or for at least 8 hours. When you remove them, you’ll have soft, bouncy curls with a natural texture that looks effortlessly beautiful.
Foam Rollers Without Heat
Foam rollers aren’t just for heated styling – they work excellently for creating curls without any heat application.
Choose roller sizes based on your desired curl pattern. Large rollers create loose waves, medium rollers produce classic curls, and small rollers give you tight ringlets.
Apply setting lotion or mousse to damp hair before rolling. Take sections slightly smaller than the roller width and wrap the hair around each roller, securing with the attached clip or pin.
Roll the hair under (toward your scalp) for classic curls, or alternate rolling directions for more natural-looking movement. Make sure each section is rolled tightly but not so tight that it causes discomfort.
Sleep in the rollers or leave them in for 6-8 hours during the day. Remove the rollers carefully and use your fingers to gently separate and arrange the curls.
The Scrunching Technique
Scrunching works best for naturally wavy hair but can enhance texture in straighter hair types too.
Start with wet hair and apply a curl-defining gel or cream. Flip your head upside down and gently squeeze sections of hair in your palms, pushing the hair up toward your scalp.
This motion encourages your hair’s natural wave pattern and creates volume at the roots. Continue scrunching until you’ve worked through all your hair.
For best results, let your hair air dry while scrunching periodically. You can also use a diffuser on low heat if you’re in a hurry, but keep the temperature minimal.
Headband Curls
The headband method creates beautiful, loose waves that frame your face perfectly.
Place a stretchy headband around your head, positioning it across your forehead like a hippie headband. Take small sections of damp hair and wrap them over and under the headband, tucking the ends in.
Continue wrapping sections around the headband until all your hair is secured. This creates a crown-like effect that’s both practical and pretty.
Sleep with the headband in place, or leave it for 6-8 hours. When you remove the headband and unwrap your hair, you’ll have gorgeous, face-framing waves.
Tips for Success

Timing plays a crucial role in heat-free curling success. Most methods work best when you start with hair that’s about 70% dry – damp but not soaking wet.
Product application makes a significant difference in your results. Protection while sleeping ensures your curls form properly.
Use lightweight products for fine hair and stronger-hold products for thick or resistant hair. Always distribute products evenly from mid-length to ends.
Use a silk or satin pillowcase to reduce friction, or wrap your hair in a silk scarf before bed.
Patience yields the best results. Heat-free methods take longer than hot tools, but the results last longer and cause zero damage to your hair.
Practice makes perfect with these techniques. Don’t expect perfection on your first try – each method requires a learning curve to master.
Conclusion
Heat-free curling protects your hair while creating beautiful, long-lasting curls that look naturally gorgeous and healthy.