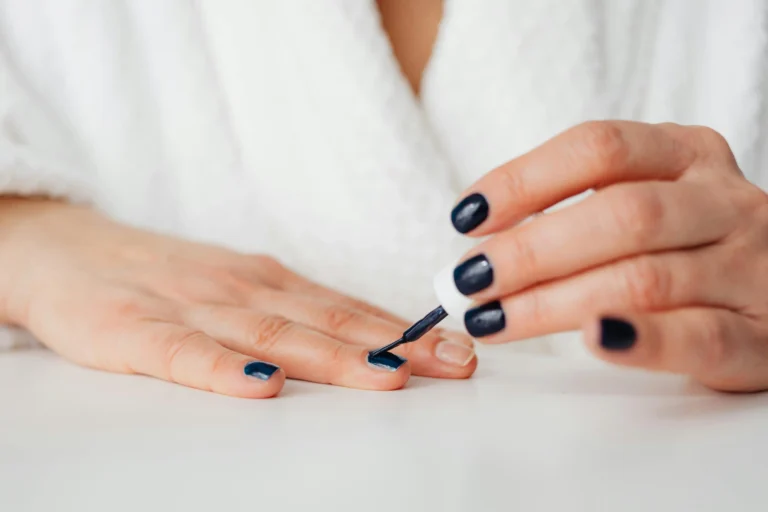
Nail Buffing 101: When & How to Do It Right
You’ve probably heard about nail buffing but wondered if it’s really necessary. The truth is, buffing transforms dull, ridged nails into smooth, shiny masterpieces.
Whether you’re dealing with stubborn ridges or want that glossy finish without polish, buffing delivers results. It’s simpler than you think and takes just minutes.
Ready to master this game-changing technique? Let’s dive into everything you need to know about buffing your nails like a pro.
What Exactly Is Nail Buffing?
Nail buffing involves using a specialized tool to gently sand and polish your nail surface. Think of it as exfoliation for your nails.
The process removes dead skin cells, smooths out imperfections, and creates that coveted natural shine.
Unlike filing, which shapes your nail edges, buffing focuses on the nail plate itself. You’re essentially creating a smooth canvas that makes polish application flawless or gives you gorgeous bare nails.
The technique has been around for decades, but modern buffing tools make it easier and safer than ever. You don’t need salon training to get professional results at home.
When Should You Buffer Your Nails?
Timing matters when it comes to nail buffing. You shouldn’t buff every day – that’s actually harmful to your nails. Instead, incorporate buffing into your routine strategically.
Buffer your nails when you notice vertical ridges appearing. These ridges form naturally as you age, but buffing smooths them out beautifully.
If your nails look dull or lack luster, buffing restores their natural glow. After removing dark polish, your nails might appear stained or yellowed.
Gentle buffing helps eliminate surface stains and reveals the healthier nail underneath. Just remember to be patient and gentle.
Before special events, buffing gives your nails that extra polish. Whether you’re applying color or going natural, buffed nails always look more refined and well-maintained.
Don’t buff if your nails are thin, damaged, or peeling. Wait until they’re stronger.
Similarly, avoid buffing immediately after removing artificial nails – give your natural nails time to recover first.
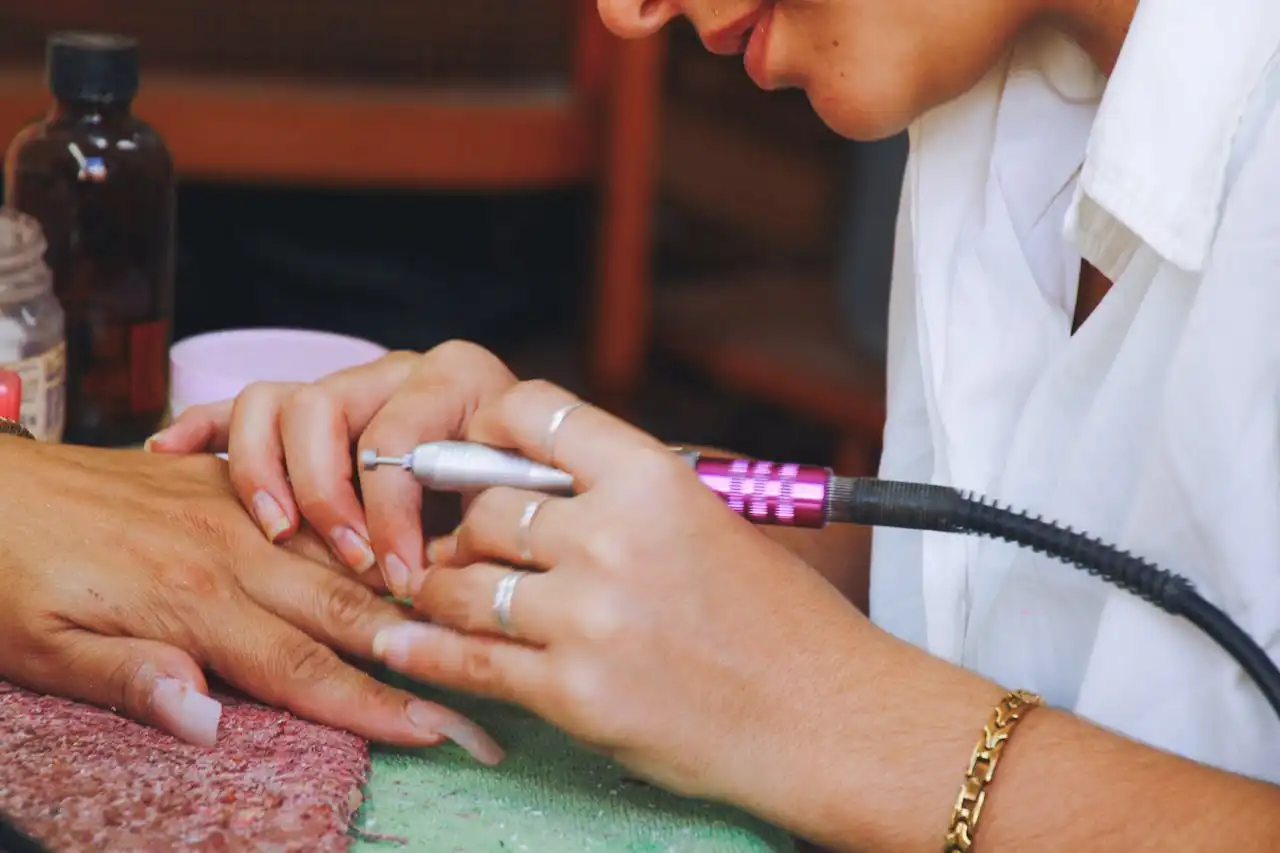
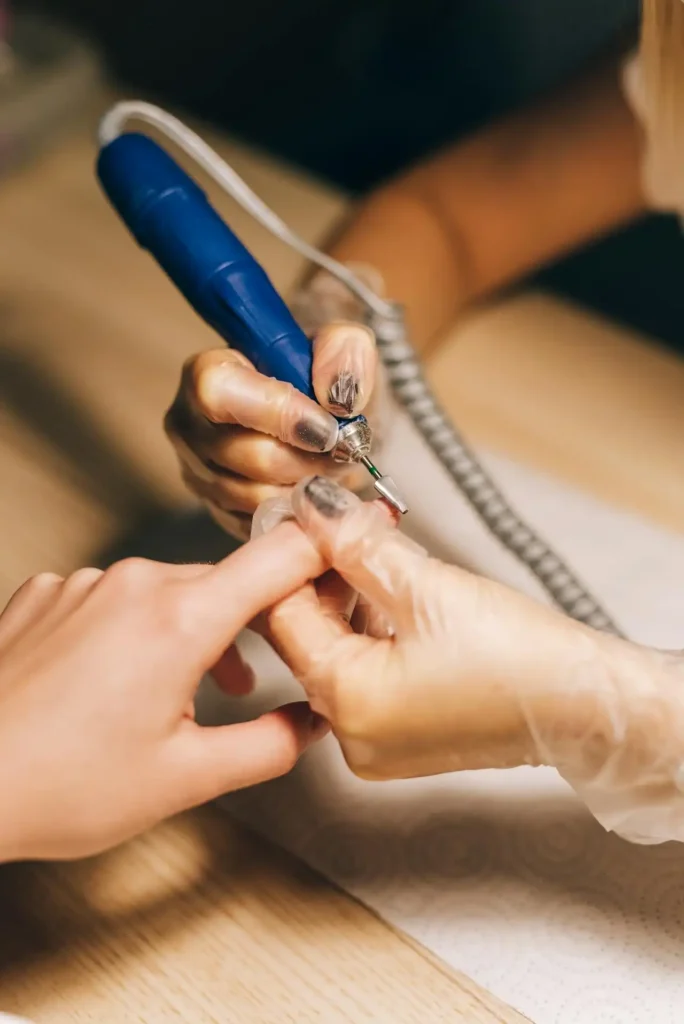
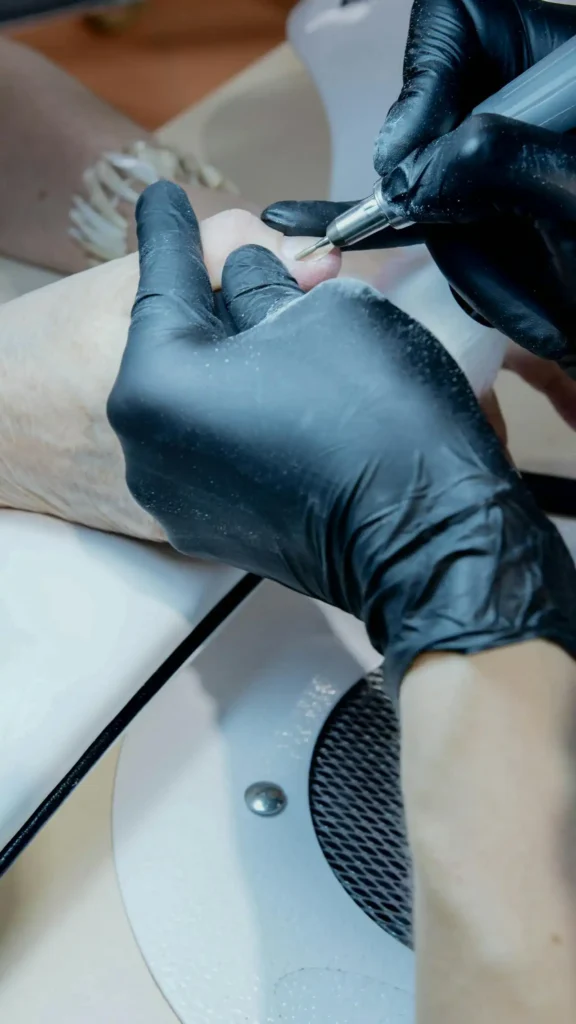
Essential Tools for Perfect Buffing
You need the right tools to achieve salon-quality results. A four-way buffer is your best friend – it includes different grits for various buffing stages.
Each side serves a specific purpose in the buffing process. Don’t forget good lighting – you need to see what you’re doing clearly.
Look for buffers with clearly marked sides. Typically, you’ll find coarse, medium, fine, and ultra-fine surfaces. Some buffers use numbers or colors to distinguish between grits.
High-quality buffers last longer and provide better results. Cheap versions often fall apart quickly or create uneven surfaces. Invest in a good buffer – your nails will thank you.
You’ll also need a cuticle pusher, nail file, and hand cream. These complementary tools ensure your entire nail care routine flows smoothly.
Consider getting multiple buffers if you do this regularly. Keeping separate tools for different family members prevents the spread of bacteria or fungal infections.
Step-by-Step Buffing Process
Start with clean, dry nails. Remove any old polish completely and wash your hands thoroughly. Push back your cuticles gently – this prevents accidental damage during buffing.
Begin with the coarsest side of your buffer. Use light, circular motions across the entire nail surface. Don’t press hard – let the buffer do the work. Spend about 10-15 seconds per nail.
Move to the medium grit next. Continue with circular motions, gradually smoothing out any marks left by the coarse side. This step refines the surface and prepares it for final polishing.
The fine grit removes any remaining imperfections. Your nails should start looking noticeably smoother at this stage. Keep your movements gentle and consistent across all nails.
Finish with the ultra-fine side for that glossy shine. This step brings out your nails’ natural luster. Work in one direction rather than circles for the best shine.
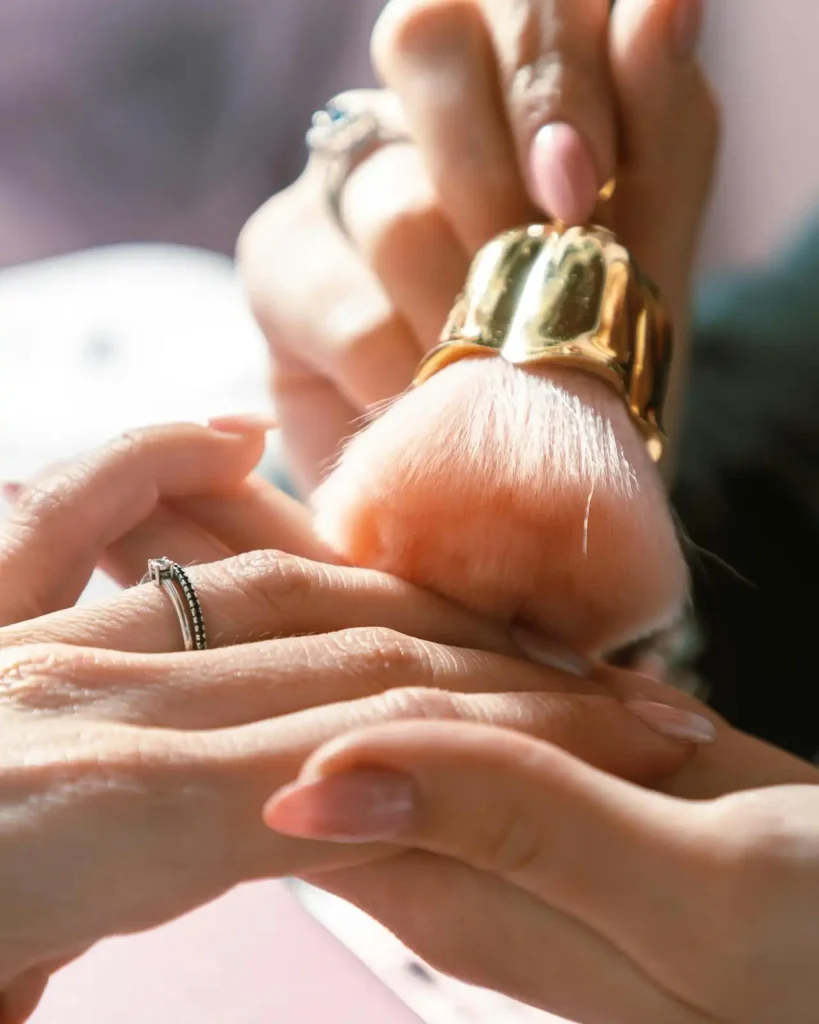
Clean your nails with a soft brush to remove any debris. Apply cuticle oil and hand cream to nourish the surrounding skin. Your nails should now look smooth, shiny, and healthy.
Common Buffing Mistakes to Avoid
Over-buffing ranks as the biggest mistake people make. Buffing too frequently or too aggressively thins your nails and makes them weak.
Stick to buffing once every two to three weeks maximum. Always use light, gentle pressure throughout the process.
Using the wrong pressure causes problems too. Heavy-handed buffing creates heat buildup and can damage your nail bed.
Skipping grits seems tempting when you’re in a hurry, but it doesn’t work. Each grit serves a purpose in the buffing sequence.
Jumping from coarse to ultra-fine leaves visible scratches and uneven texture. A fresh buffer makes all the difference.
Buffing in the wrong direction creates streaks and uneven shine. For the final polishing step, always work in one direction rather than back and forth or in circles.
Neglecting nail preparation leads to poor results. Make sure your nails are completely clean and dry before starting. Any residue or moisture interferes with the buffing process.
Using old or worn-out buffers won’t give you the results you want. Replace your buffer when the surfaces become smooth or lose their effectiveness.
Amazing Benefits of Regular Buffing
Buffing stimulates blood circulation in your nail bed, promoting healthier nail growth.
This increased circulation delivers nutrients more effectively to your growing nails. You’ll notice stronger, more resilient nails over time.
Your nail polish lasts longer on buffed nails. The smooth surface provides better adhesion for base coats and color. You’ll experience fewer chips and longer-lasting manicures.
Buffed nails look professionally maintained even without polish. The natural shine mimics the effect of clear polish but feels completely natural.
This makes buffing perfect for professional environments with strict grooming codes. Early detection means easier treatment.
The process helps identify potential nail problems early. As you work on each nail, you’ll notice any unusual spots, changes in texture, or signs of infection.
Buffing removes surface stains from coffee, tea, or dark polishes. Instead of using harsh chemicals, gentle buffing gradually lightens discoloration. Your nails return to their natural color safely.
Regular buffing also improves the overall health of your nail plate. Removing dead cells and promoting circulation creates an environment where healthy nails can thrive.
How Often Should You Buffer?
Most people benefit from buffing every two to three weeks. If you have naturally thin nails, extend the time between buffing sessions.
This frequency allows your nails to recover between sessions while maintaining that smooth, polished appearance. Pay attention to how your nails respond.
Every four to six weeks might be more appropriate for delicate nails. Let your nail health guide your schedule.
People with thick, ridged nails might need slightly more frequent buffing initially. Once you achieve the desired smoothness, reduce frequency to maintain results without over-processing.
Seasonal changes affect buffing frequency too. Winter’s dry air might require more frequent buffing to combat dullness.
Summer humidity might mean you can stretch longer between sessions. Healthy nails should feel strong and look naturally lustrous after proper buffing.
Listen to your nails. If they become thin, weak, or sensitive, reduce buffing frequency immediately.
Troubleshooting Common Issues
If your nails look streaky after buffing, you likely skipped a grit or used uneven pressure. Start over with a fresh buffer, ensuring you complete each step thoroughly.
Take your time with each grit level. Reduce pressure and frequency going forward.
White spots appearing after buffing usually indicate over-buffing or using too much pressure. These spots show where you’ve thinned the nail plate excessively.
Nails that won’t shine might be naturally dry or damaged. Apply cuticle oil and hand cream regularly to improve nail health.
Sometimes underlying health issues affect nail quality – consult a dermatologist if problems persist.
If buffing hurts, stop immediately. Pain indicates you’re being too aggressive or your nails are too thin for buffing.
Let them recover for several weeks before trying again with lighter pressure. Uneven results across different nails suggest inconsistent technique.
Practice maintaining the same pressure and motion on each nail. It takes time to develop muscle memory for even buffing.
Professional vs. At-Home Buffing
Salon buffing offers professional expertise and high-quality tools. They also use sanitized tools, reducing infection risk.
Nail technicians have experience identifying when buffing is appropriate and can customize the process for your specific nail type.
At-home buffing provides convenience and cost savings. Once you master the technique, you can maintain your nails between salon visits.
You control the pressure and timing, which works well for sensitive nails. This hybrid approach offers the best of both worlds.
Many people combine both approaches successfully. Professional buffing every few months maintains nail health, while gentle at-home touch-ups keep nails looking their best.
Consider your comfort level and nail condition when deciding. If you have nail problems or concerns, start with professional guidance.
Once you understand proper technique, transitioning to home care becomes easier.
Maintaining Your Results
Protect your newly buffed nails by wearing gloves during household chores. Cleaning chemicals and harsh detergents can dull the shine and damage your nail surface.
Prevention keeps your results lasting longer. Apply cuticle oil daily to maintain nail health and flexibility.
Well-moisturized nails resist cracking and peeling, preserving your buffing results. Focus on the cuticle area and nail plate itself.
Use a gentle nail strengthener if your nails feel weak after buffing. Some formulas contain nourishing ingredients that support nail health without being too harsh.
Avoid products with harsh chemicals. Be mindful of your daily activities. Store your buffing tools properly to maintain their effectiveness.
Typing, opening cans, and other routine tasks can gradually dull your buffed nails. While you don’t need to change your lifestyle, awareness helps you maintain results longer.
Keep buffers clean and dry between uses. Replace them when they become worn or contaminated.
Conclusion
Nail buffing transforms your nails when done correctly and sparingly.
Master the technique, respect your nails’ limits, and enjoy gorgeous, healthy-looking nails naturally.