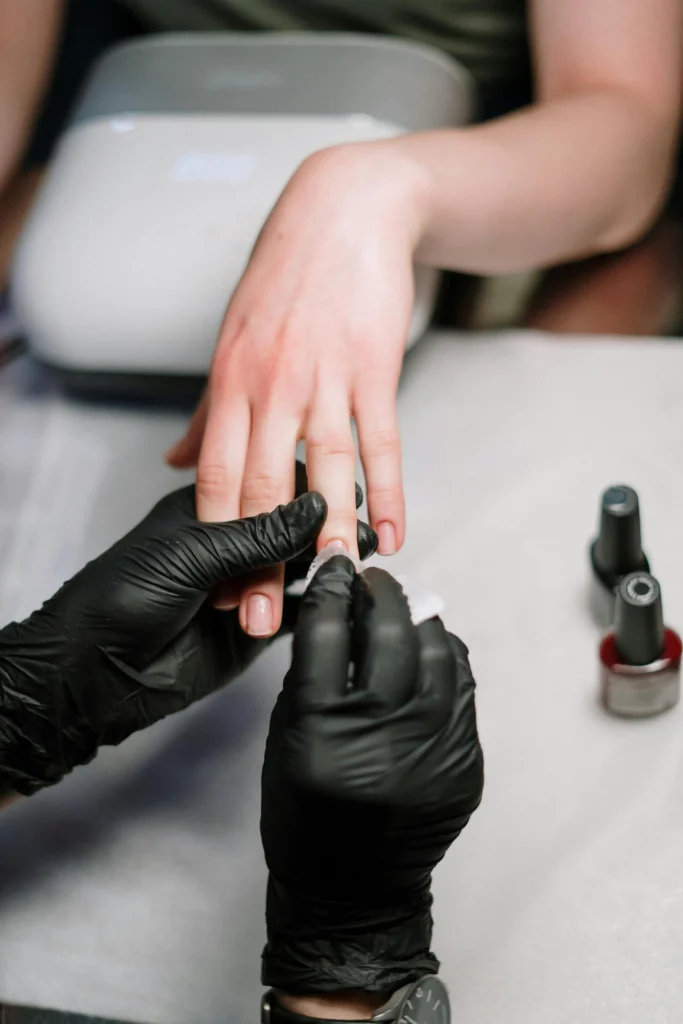
7 Tips to Make Your Manicure Last Longer
You’ve just left the salon with gorgeous, freshly painted nails, and you want them to stay perfect for as long as possible.
Nothing beats that feeling of flawless polish, but chips and peeling can quickly ruin the look.
The good news? You can extend your manicure’s lifespan with the right techniques and habits.
These seven proven strategies will help you maintain salon-quality nails for days or even weeks longer.
Whether you do your nails at home or visit a professional, these tips work for everyone. Let’s dive into the secrets that will transform your nail game forever.
1. Start with a Quality Base Coat
Your base coat serves as the foundation for everything that follows, so never skip this crucial step.
Think of it as primer for your nails – it creates a smooth surface and helps your polish adhere better to your natural nail.
A good base coat also acts as a protective barrier between your nail and the colored polish.
This prevents staining and makes removal easier when it’s time for a change.
Look for base coats that contain strengthening ingredients like protein or calcium if you have weak or brittle nails.
Apply your base coat in thin, even strokes from cuticle to tip.
Make sure you cover the entire nail surface, including the edges. This creates a complete seal that prevents moisture from getting underneath your polish.
Don’t rush this step – let your base coat dry completely before applying color.
This usually takes about two to three minutes. You’ll know it’s ready when it feels dry to the touch and doesn’t leave any marks when you gently press on it.
Some base coats offer additional benefits like ridge filling or nail strengthening. Choose one that addresses your specific nail concerns for the best results.
Remember, investing in a quality base coat now saves you time and frustration later when your manicure starts chipping prematurely.
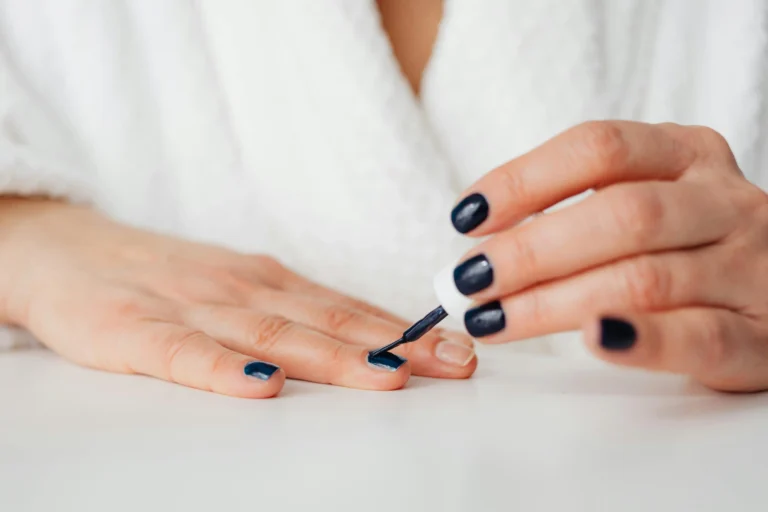
2. Apply Thin, Even Layers of Polish
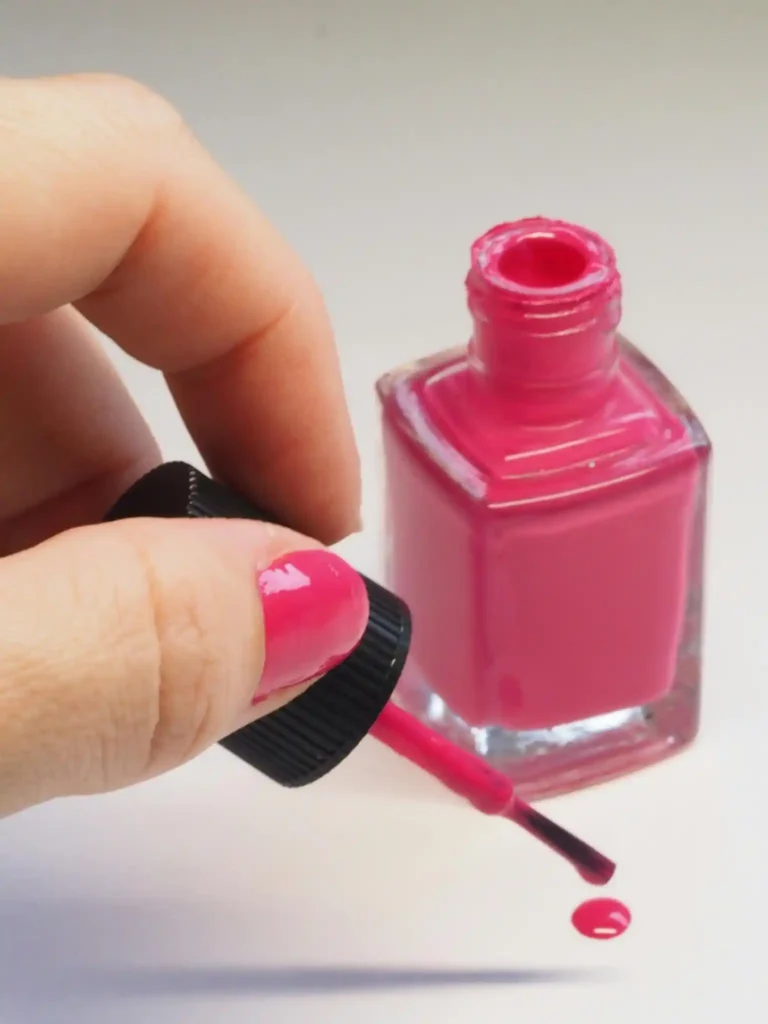
The secret to long-lasting color lies in your application technique.
Many people make the mistake of applying thick coats to achieve full coverage quickly, but this actually works against you.
Thick layers take longer to dry and are more prone to bubbling, smudging, and chipping.
Instead, apply two to three thin coats of polish.
Start with a light first coat that might look a bit streaky – don’t worry about perfect coverage yet.
This initial layer creates a base for the subsequent coats to grip onto.
Wait for each coat to dry completely before applying the next one. This prevents the layers from mixing together and creating an uneven finish.
Test the dryness by gently touching your nail with the tip of another finger – if it feels tacky or leaves a mark, give it more time.
When applying each coat, use smooth strokes from cuticle to tip. Start with a stroke down the center of your nail, then fill in the sides.
This technique ensures even coverage and prevents streaking.
Keep your brush loaded with polish but not overloaded – you want enough product to cover the nail without flooding your cuticles.
Pay special attention to the tips of your nails, as these areas experience the most wear and tear.
Make sure you completely cover the free edge of each nail with polish.
Some people even apply polish to the underside of their nail tips for extra protection and longevity.
3. Seal Everything with a Quality Top Coat
Your top coat is just as important as your base coat, if not more so.
This final layer protects your color from chips, scratches, and fading while adding shine and depth to your manicure.
Choose a top coat specifically designed for durability rather than just shine.
Apply your top coat over the completely dry color, making sure to seal the tips of your nails.
This edge-sealing technique prevents water and daily wear from lifting your polish. Use the same application method as your color coats – center stroke first, then the sides.
Modern top coats offer various benefits beyond basic protection.
Some contain UV filters to prevent color fading, while others provide extra hardness or flexibility. Quick-dry formulas can speed up your manicure process without sacrificing durability.
Reapply your top coat every two to three days to maintain maximum protection. This simple maintenance step can extend your manicure’s life significantly.
Keep a bottle of your top coat handy for touch-ups – it’s much easier than redoing your entire manicure.
Consider investing in a professional-grade top coat if you’re serious about longevity.
These formulas often contain higher-quality resins and polymers that create a more durable finish than drugstore alternatives.
4. Protect Your Nails During Daily Activities
Your beautiful manicure faces constant threats throughout the day, but you can minimize damage by being mindful of your activities.
Water is one of the biggest enemies of nail polish, so wear gloves when doing dishes, cleaning, or gardening.
Rubber gloves create a barrier between your nails and harsh chemicals found in cleaning products.
These substances can break down your polish and cause premature chipping.
Even hot water from washing dishes can soften your polish and make it more vulnerable to damage.
When you can’t wear gloves, try to minimize direct contact between your nails and water or chemicals.
Use tools like sponges or brushes instead of your bare hands when possible. This simple adjustment can make a significant difference in how long your manicure lasts.
Be extra careful during the first 24 hours after your manicure, when your polish is still fully curing.
Avoid hot showers, swimming, or steam rooms during this critical period. Even though your polish feels dry to the touch, it continues hardening for hours after application.
Physical activities can also damage your manicure. Be conscious of how you use your hands during exercise, sports, or manual labor.
Consider wearing protective gloves or adjusting your technique to minimize stress on your nails.
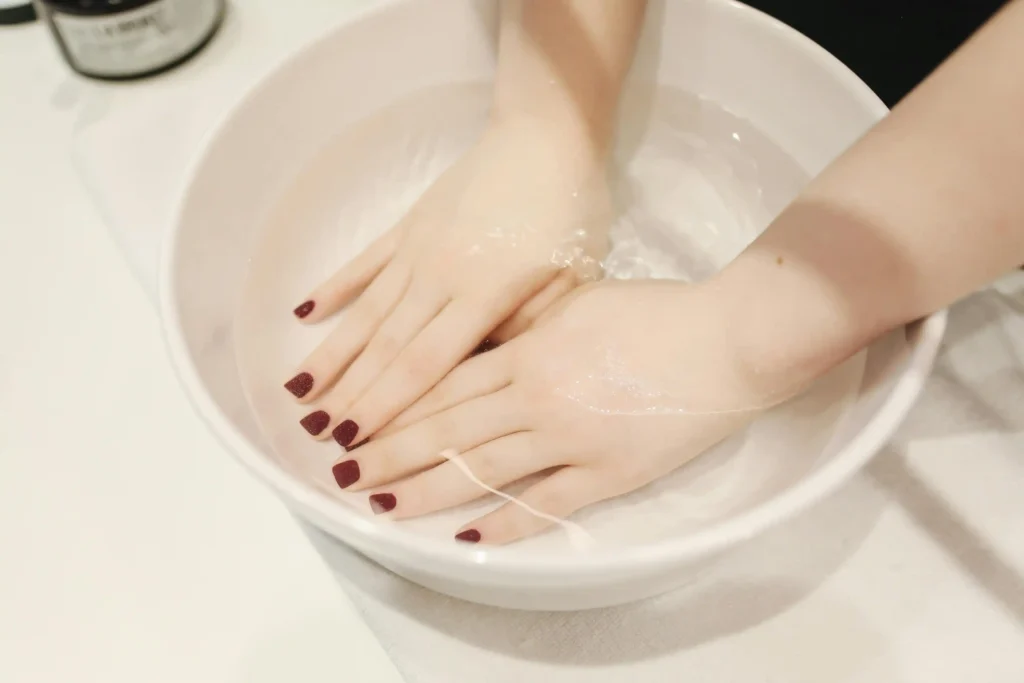
5. Moisturize Your Cuticles and Nails Regularly
Healthy nails hold polish better and longer than dry, brittle ones. Make cuticle and nail care a daily habit, not just something you do during manicures.
Well-moisturized nails are more flexible and less likely to crack or peel, taking your polish with them.
Use a dedicated cuticle oil or cream at least once daily, preferably before bedtime.
Massage the product into your cuticles and nail beds to improve circulation and promote healthy growth.
This also helps prevent hangnails and rough cuticles that can catch on things and damage your manicure.
Don’t forget about the skin around your nails.
Dry, flaky skin can make even a perfect manicure look unkempt. Apply hand cream regularly throughout the day, paying special attention to your nail area.
Choose products with ingredients like vitamin E, jojoba oil, or shea butter for maximum nourishment.
Hydration starts from within, so drink plenty of water throughout the day.
Dehydrated nails become brittle and prone to breaking, which can ruin your manicure instantly.
Aim for at least eight glasses of water daily to keep your nails and skin healthy from the inside out.
Consider using a nail strengthening treatment if you have particularly weak or damaged nails.
These products contain proteins and nutrients that help rebuild and fortify your nail structure, creating a better foundation for your polish.
6. Avoid Using Your Nails as Tools
Your nails weren’t designed to be screwdrivers, can openers, or tape dispensers, yet many people use them this way without thinking.
This habit is one of the fastest ways to chip, crack, or completely destroy your manicure.
Instead of using your nails, reach for actual tools. Keep a small toolkit handy with items like letter openers, scissors, and tweezers.
Your manicure will thank you, and you’ll avoid potentially injuring your nail bed or fingertips.
When you need to pick at something, use the pad of your finger instead of your nail tip.
This protects the most vulnerable part of your manicure while still allowing you to accomplish your task.
Train yourself to be conscious of these automatic behaviors – awareness is the first step to change.
Opening cans, packages, and bottles puts enormous stress on your nails. The pressure required to break seals or tear materials can cause instant chips or cracks.
Always use proper tools or ask for help rather than risking your beautiful manicure.
Even seemingly harmless activities like typing can damage your nails if you’re not careful. Adjust your typing technique to use your fingertips rather than your nails.
This not only protects your manicure but also improves your typing accuracy and speed.
7. Touch Up Chips Immediately
The moment you notice a small chip or crack, address it immediately.
What starts as a tiny imperfection can quickly spread and ruin your entire manicure if left untreated. Quick action can save your manicure and extend its life significantly.
For small chips, carefully file away any rough edges with a fine-grit nail file. This prevents the chip from catching on things and getting worse.
Once smooth, apply a thin layer of matching polish to the affected area, then seal with top coat.
Keep a small bottle of your current polish color with you for emergency touch-ups.
Many nail polish brands offer mini versions of their popular shades specifically for this purpose.
A quick touch-up at work or while out can prevent a minor chip from becoming a major problem.
When doing touch-ups, blend the new polish into the surrounding area for a seamless repair.
Apply the polish slightly beyond the chipped area, then use a clean brush to blend the edges. This technique makes repairs virtually invisible.
If the damage is too extensive for a simple touch-up, consider removing the polish from just that nail and starting fresh.
One perfectly painted nail looks better than a poorly repaired chip that draws attention to the damage.
Conclusion
With these seven strategies, you’ll enjoy gorgeous, long-lasting manicures that maintain their salon-fresh appearance for days longer than before.